> ## Documentation Index
> Fetch the complete documentation index at: https://help.snipin.ai/llms.txt
> Use this file to discover all available pages before exploring further.
# Start a new project
> Create a new project, add sessions, and upload your video content.
Once you log into Snipin AI, the journey begins by creating your **first project**.
A project represents your **event** — the umbrella under which all your days, tracks, sessions, and speakers live.
Just like a real event, Snipin AI follows a structured flow:\
**Event → Days → Tracks → Sessions → Speakers → Upload → AI Processing**
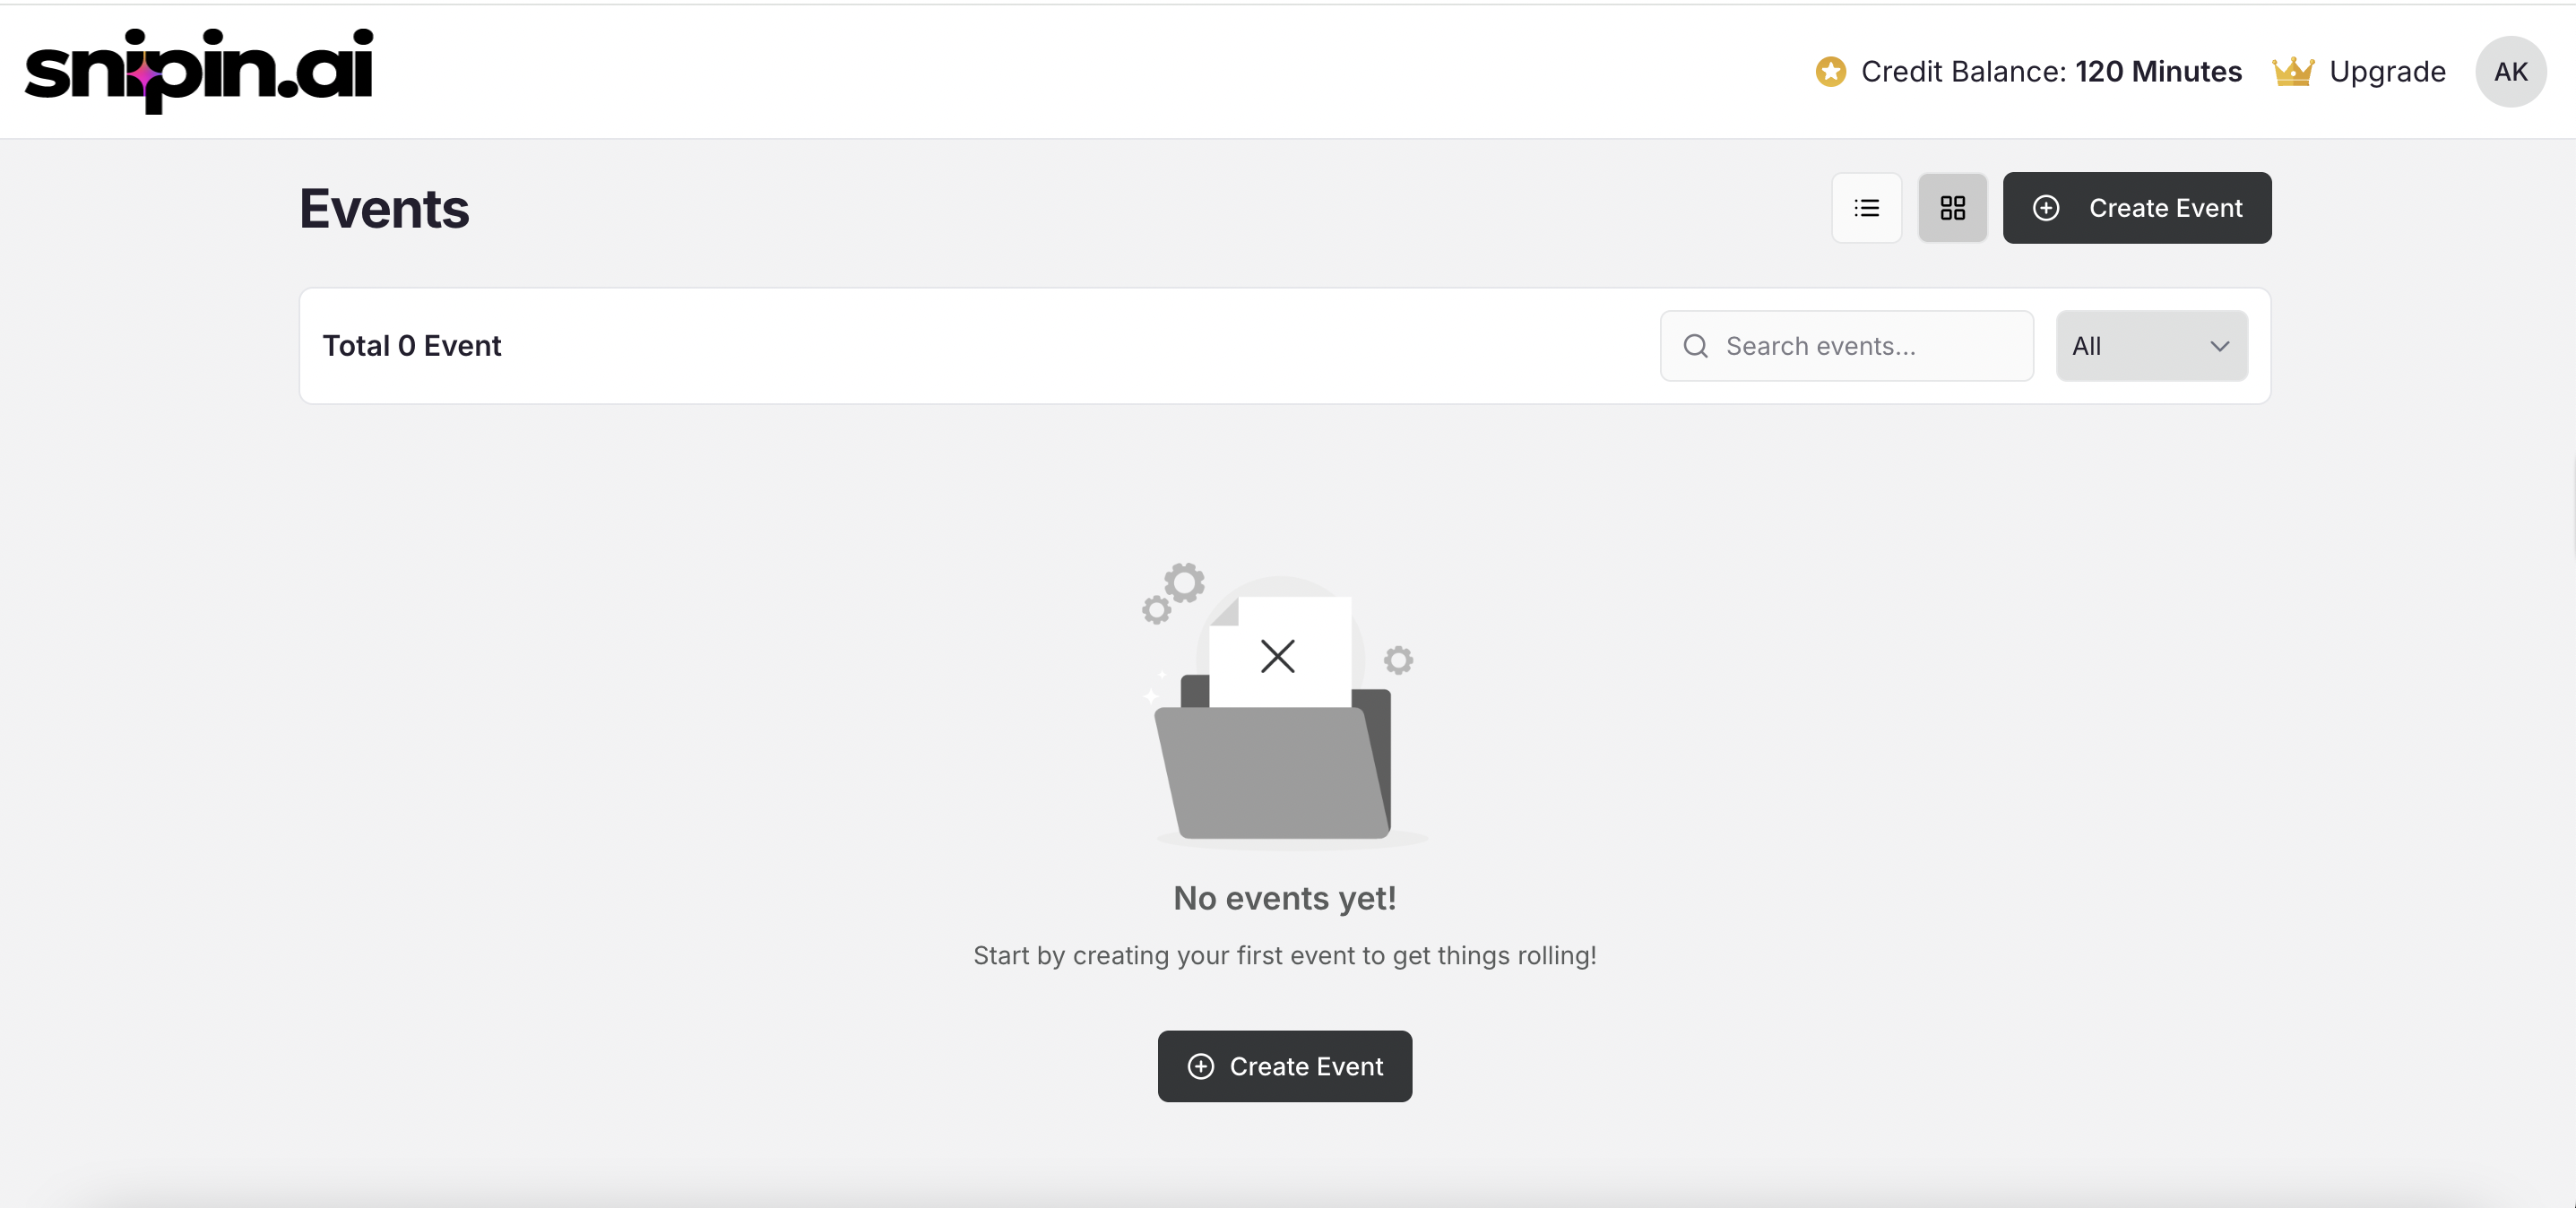
## 1. Create an Event
To start, click on the **“+ Create Event”** button from your dashboard.
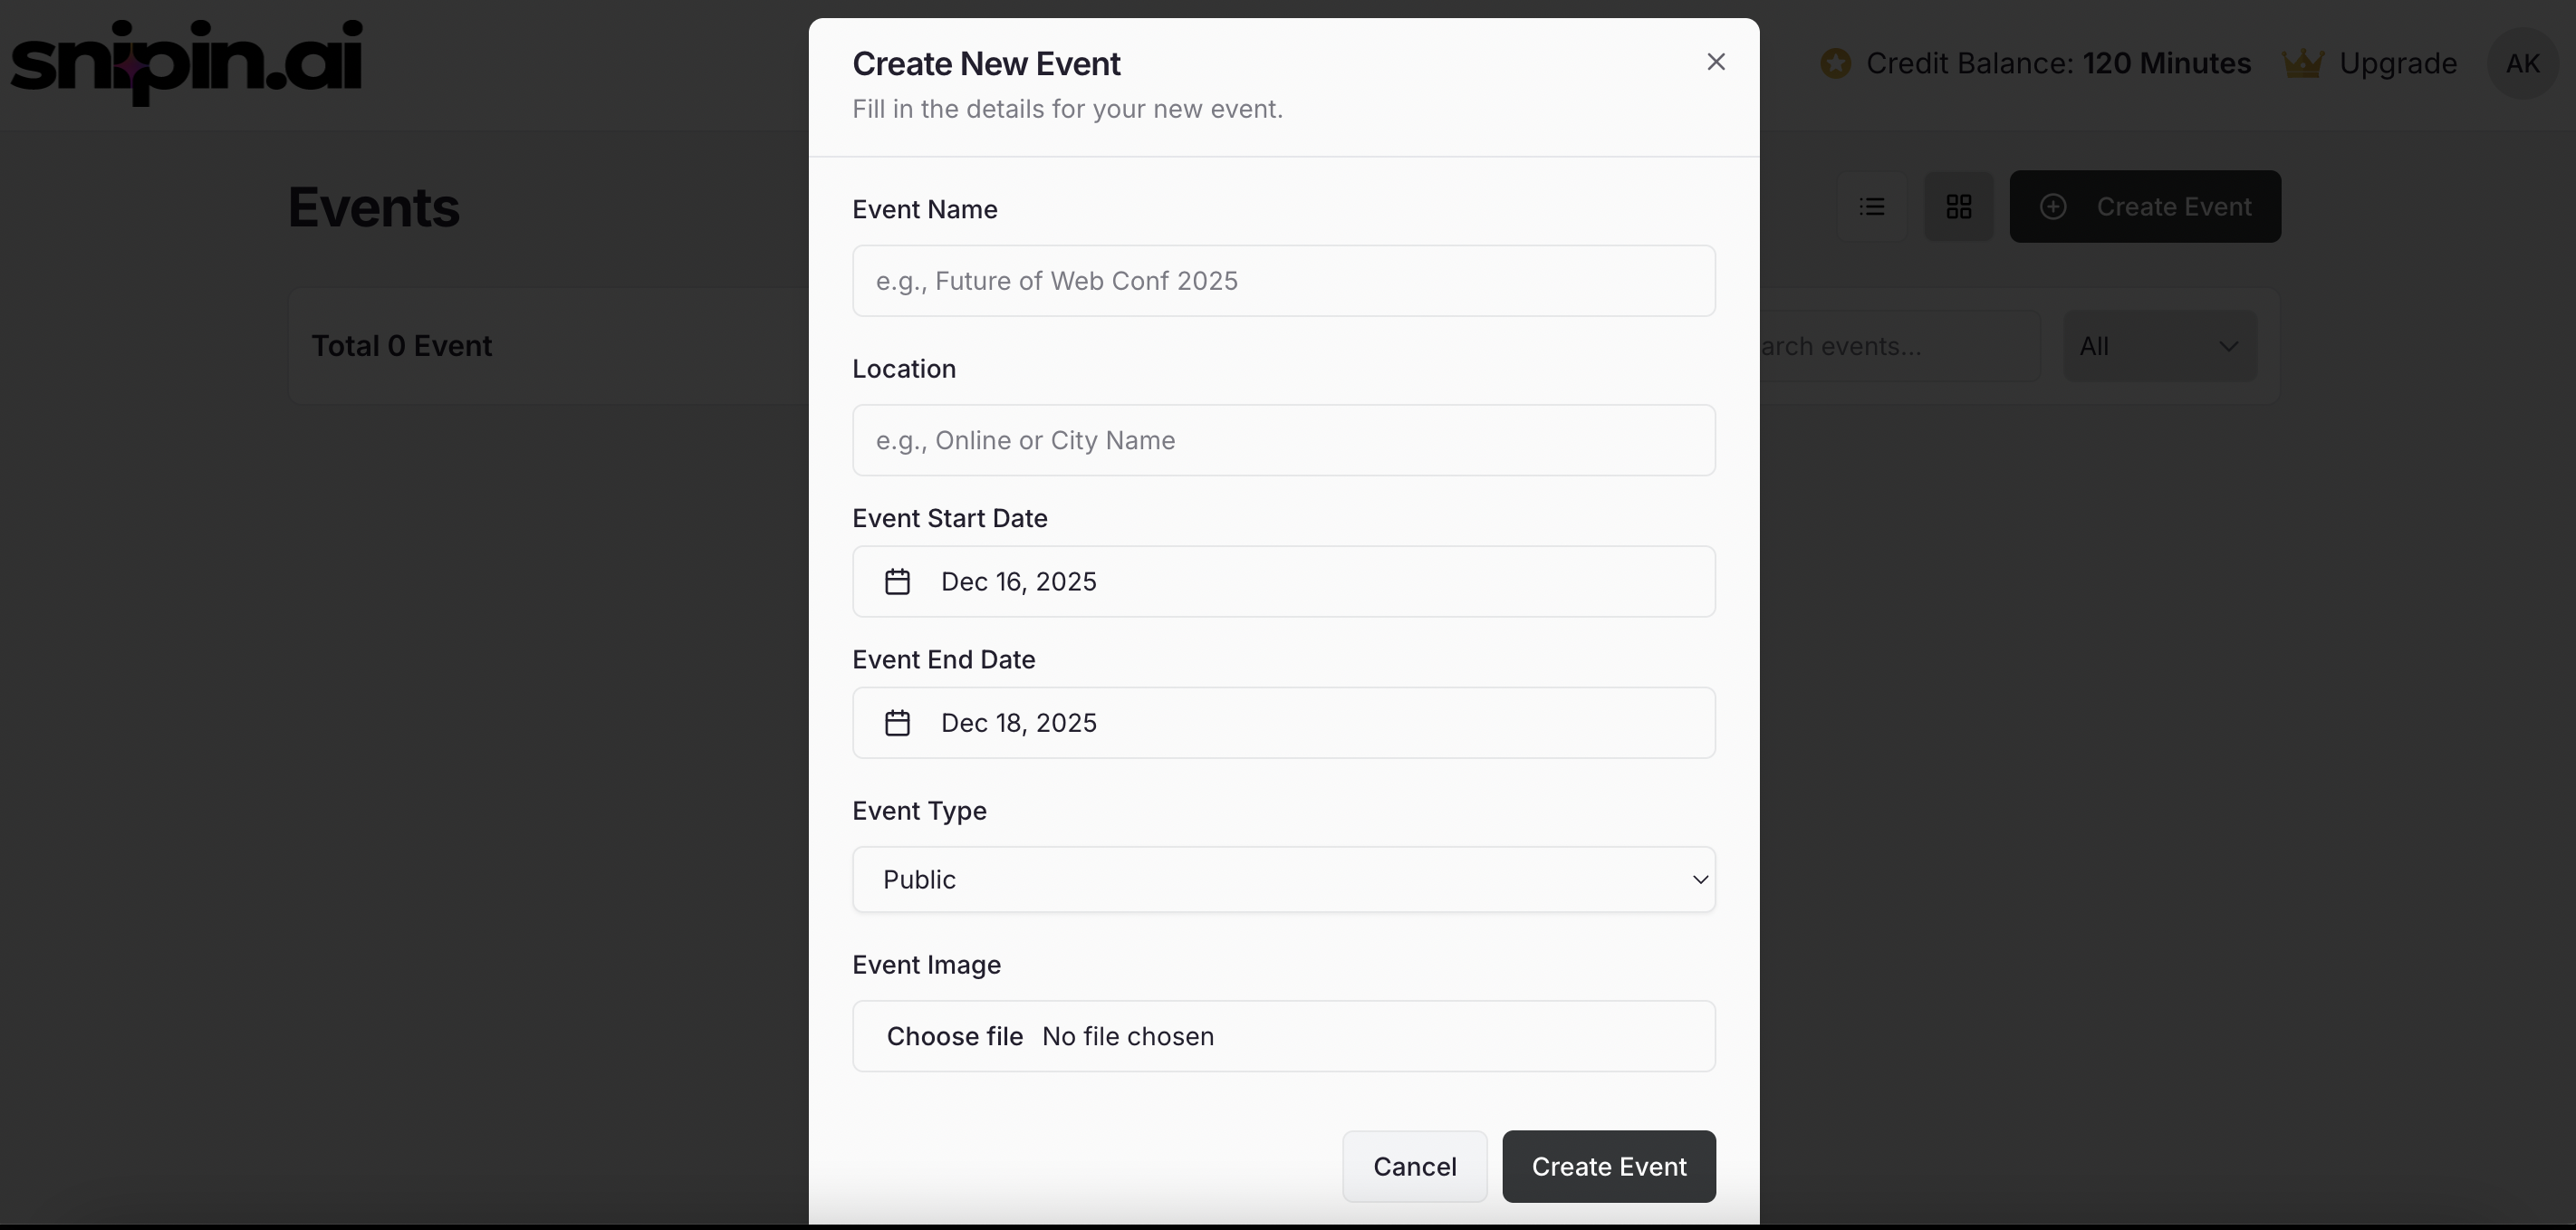
 Fill in the event details in the pop-up form:
* **Event Name** – Give your event a clear, recognizable name.
* **Location** – Add the venue or city name.
* **Event Start Date** – The date when the event begins.
* **Event End Date** – The date when the event concludes.
* **Event Type** – Choose between:
* 🟢 **Public Event** – Anyone can access the content by verifying with their email (no admin approval needed).
* 🔒 **Private Event** – Only users added manually by the admin can access the content.
Fill in the event details in the pop-up form:
* **Event Name** – Give your event a clear, recognizable name.
* **Location** – Add the venue or city name.
* **Event Start Date** – The date when the event begins.
* **Event End Date** – The date when the event concludes.
* **Event Type** – Choose between:
* 🟢 **Public Event** – Anyone can access the content by verifying with their email (no admin approval needed).
* 🔒 **Private Event** – Only users added manually by the admin can access the content.
 ## 2. Manage Event Days
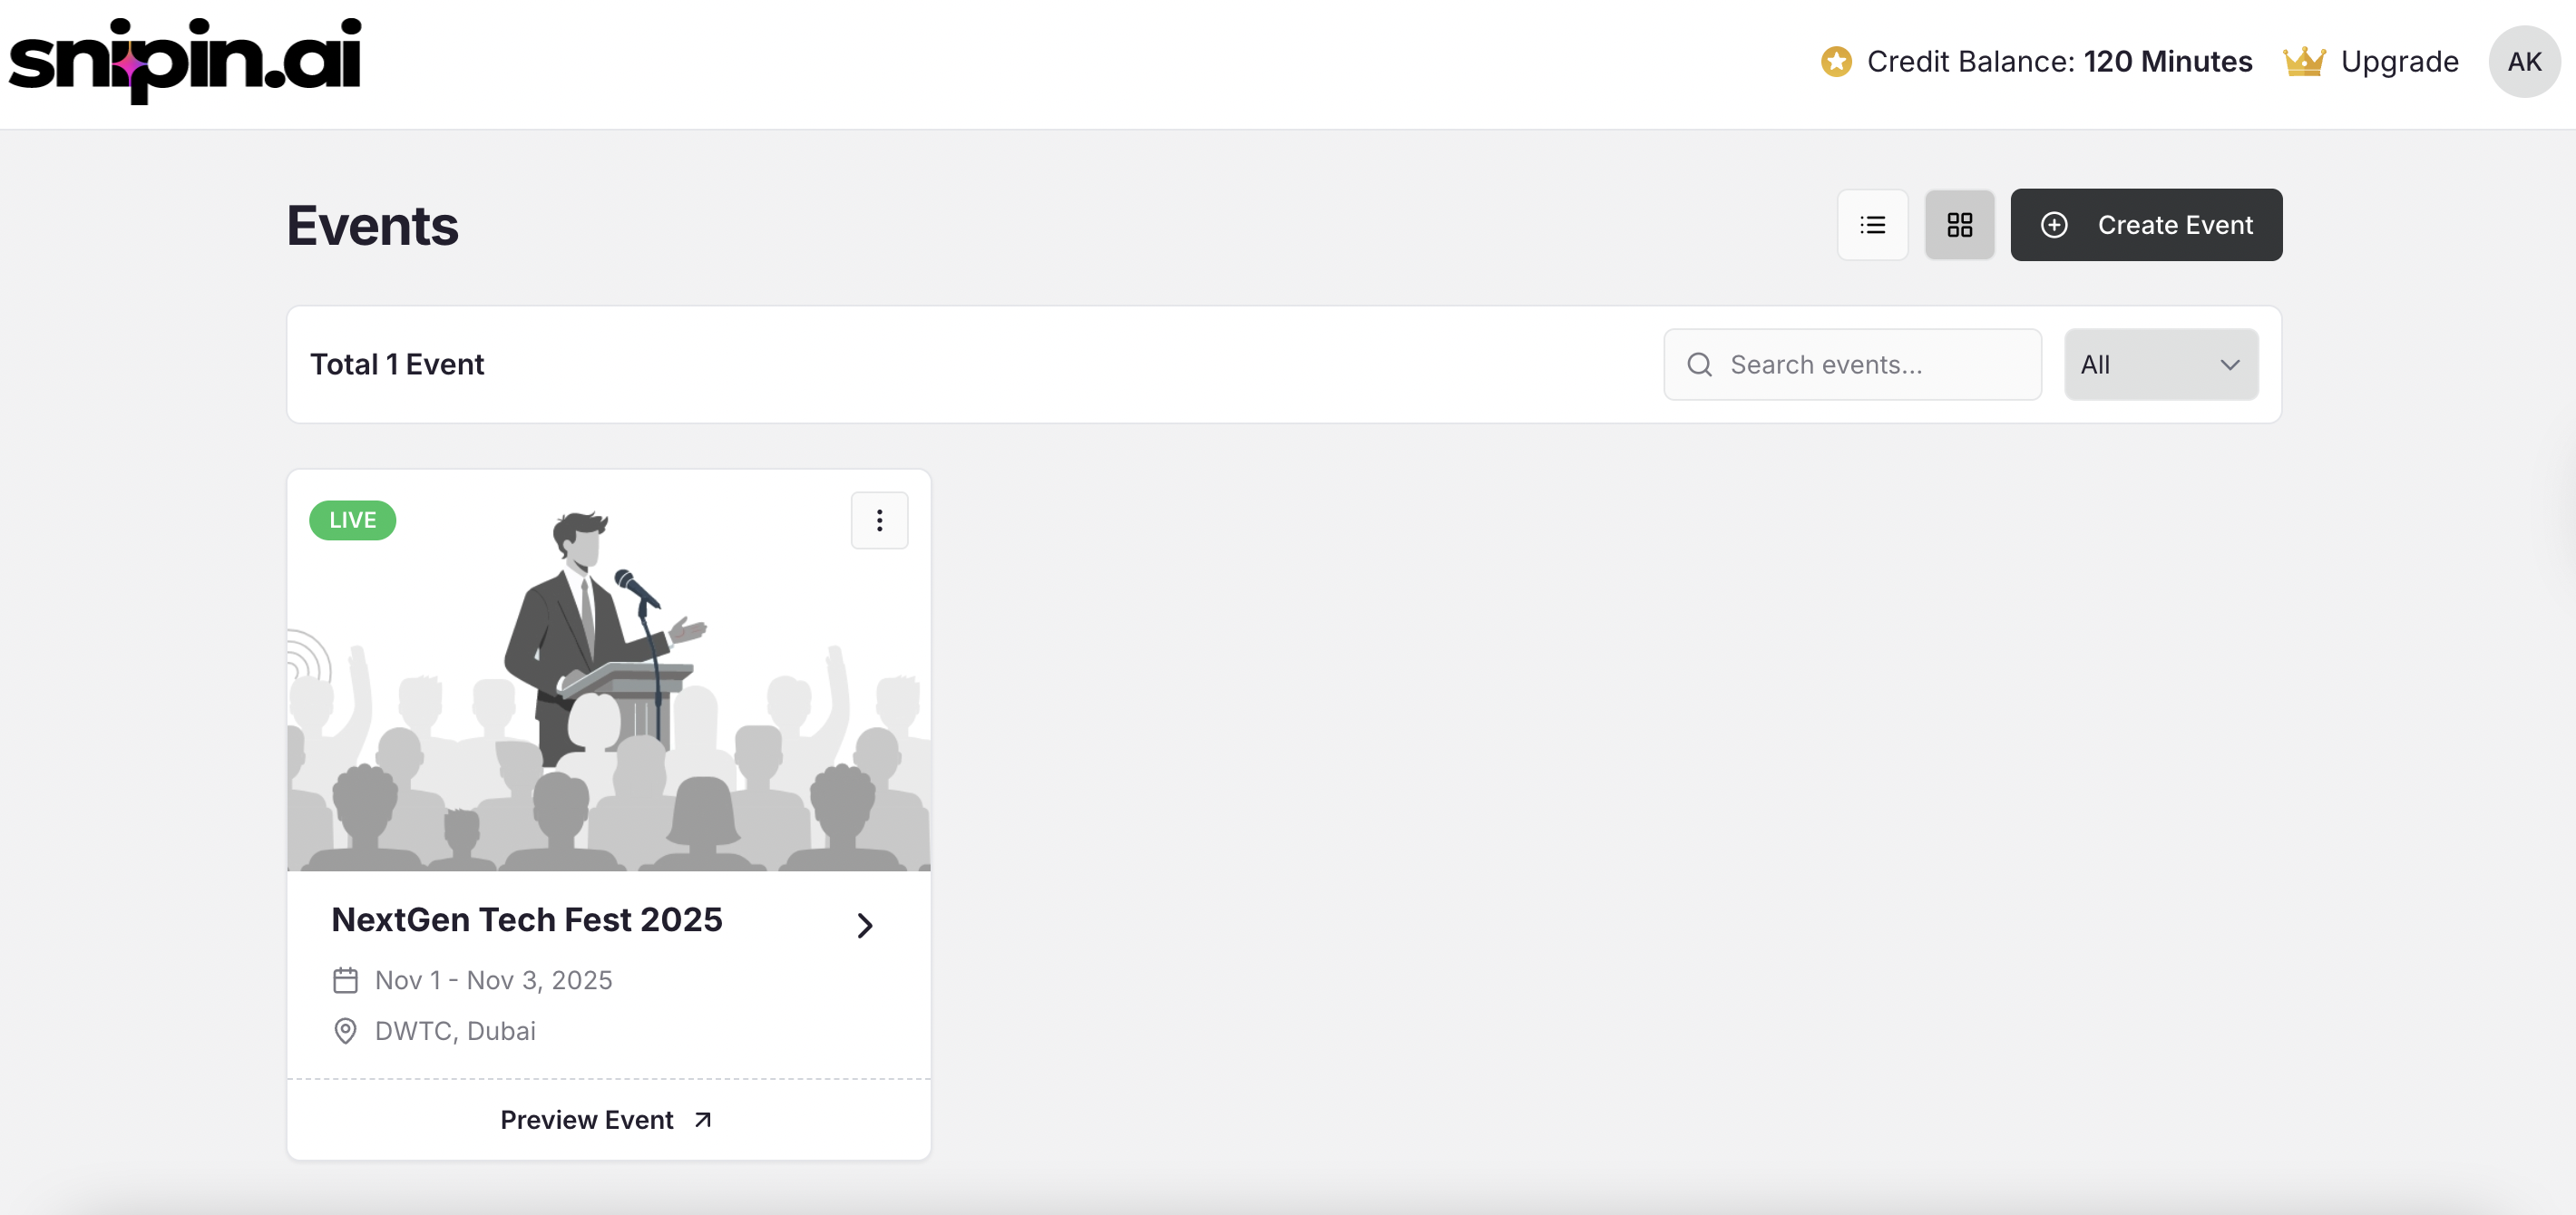
As soon as you create your event, Snipin AI automatically calculates how many days your event spans and generates those days inside your event dashboard.
For example:
* If your event runs from **Nov 1 – Nov 3**, Snipin AI will automatically create **Day 1 (Nov 1)**, **Day 2 (Nov 2)**, and **Day 3 (Nov 3).**
## 2. Manage Event Days
As soon as you create your event, Snipin AI automatically calculates how many days your event spans and generates those days inside your event dashboard.
For example:
* If your event runs from **Nov 1 – Nov 3**, Snipin AI will automatically create **Day 1 (Nov 1)**, **Day 2 (Nov 2)**, and **Day 3 (Nov 3).**
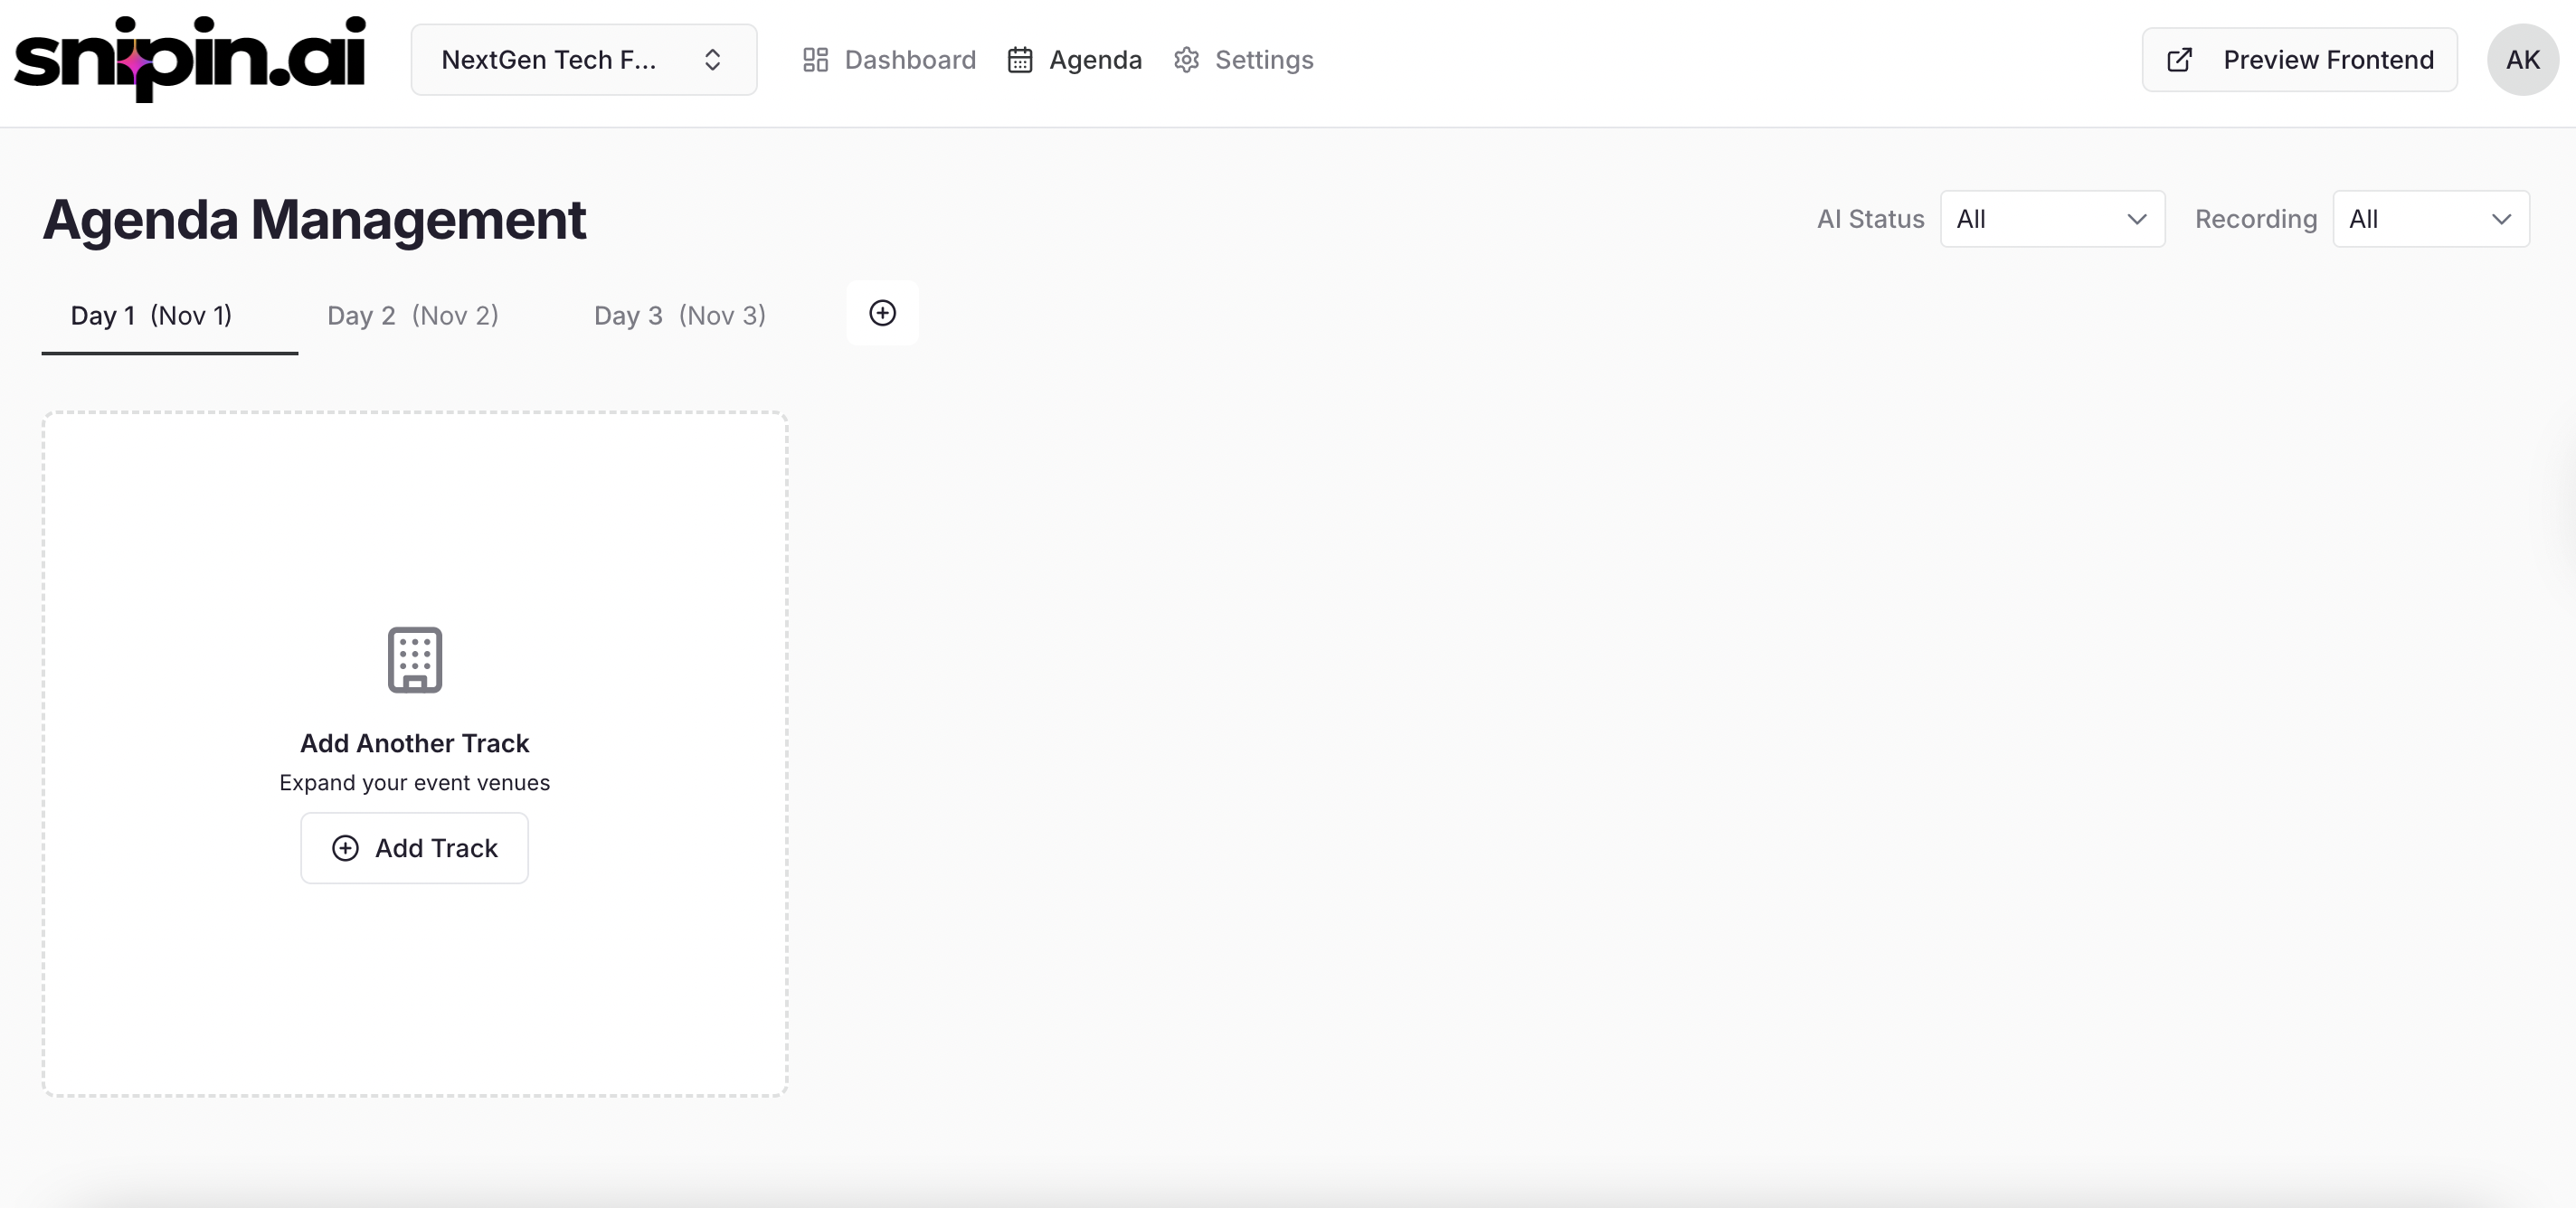 You can easily manage these days:
* 🟢 **Add a Day:** Click “+ Add Day” if your event extends or has an additional activity day.
* ✏️ **Edit a Day:** Rename or update day details if the schedule changes.
* ❌ **Delete a Day:** Remove any extra or unused day tabs.
Tip\_:\_ Keeping your event organized by days ensures cleaner structure and easier navigation when you have multiple sessions or tracks running simultaneously.
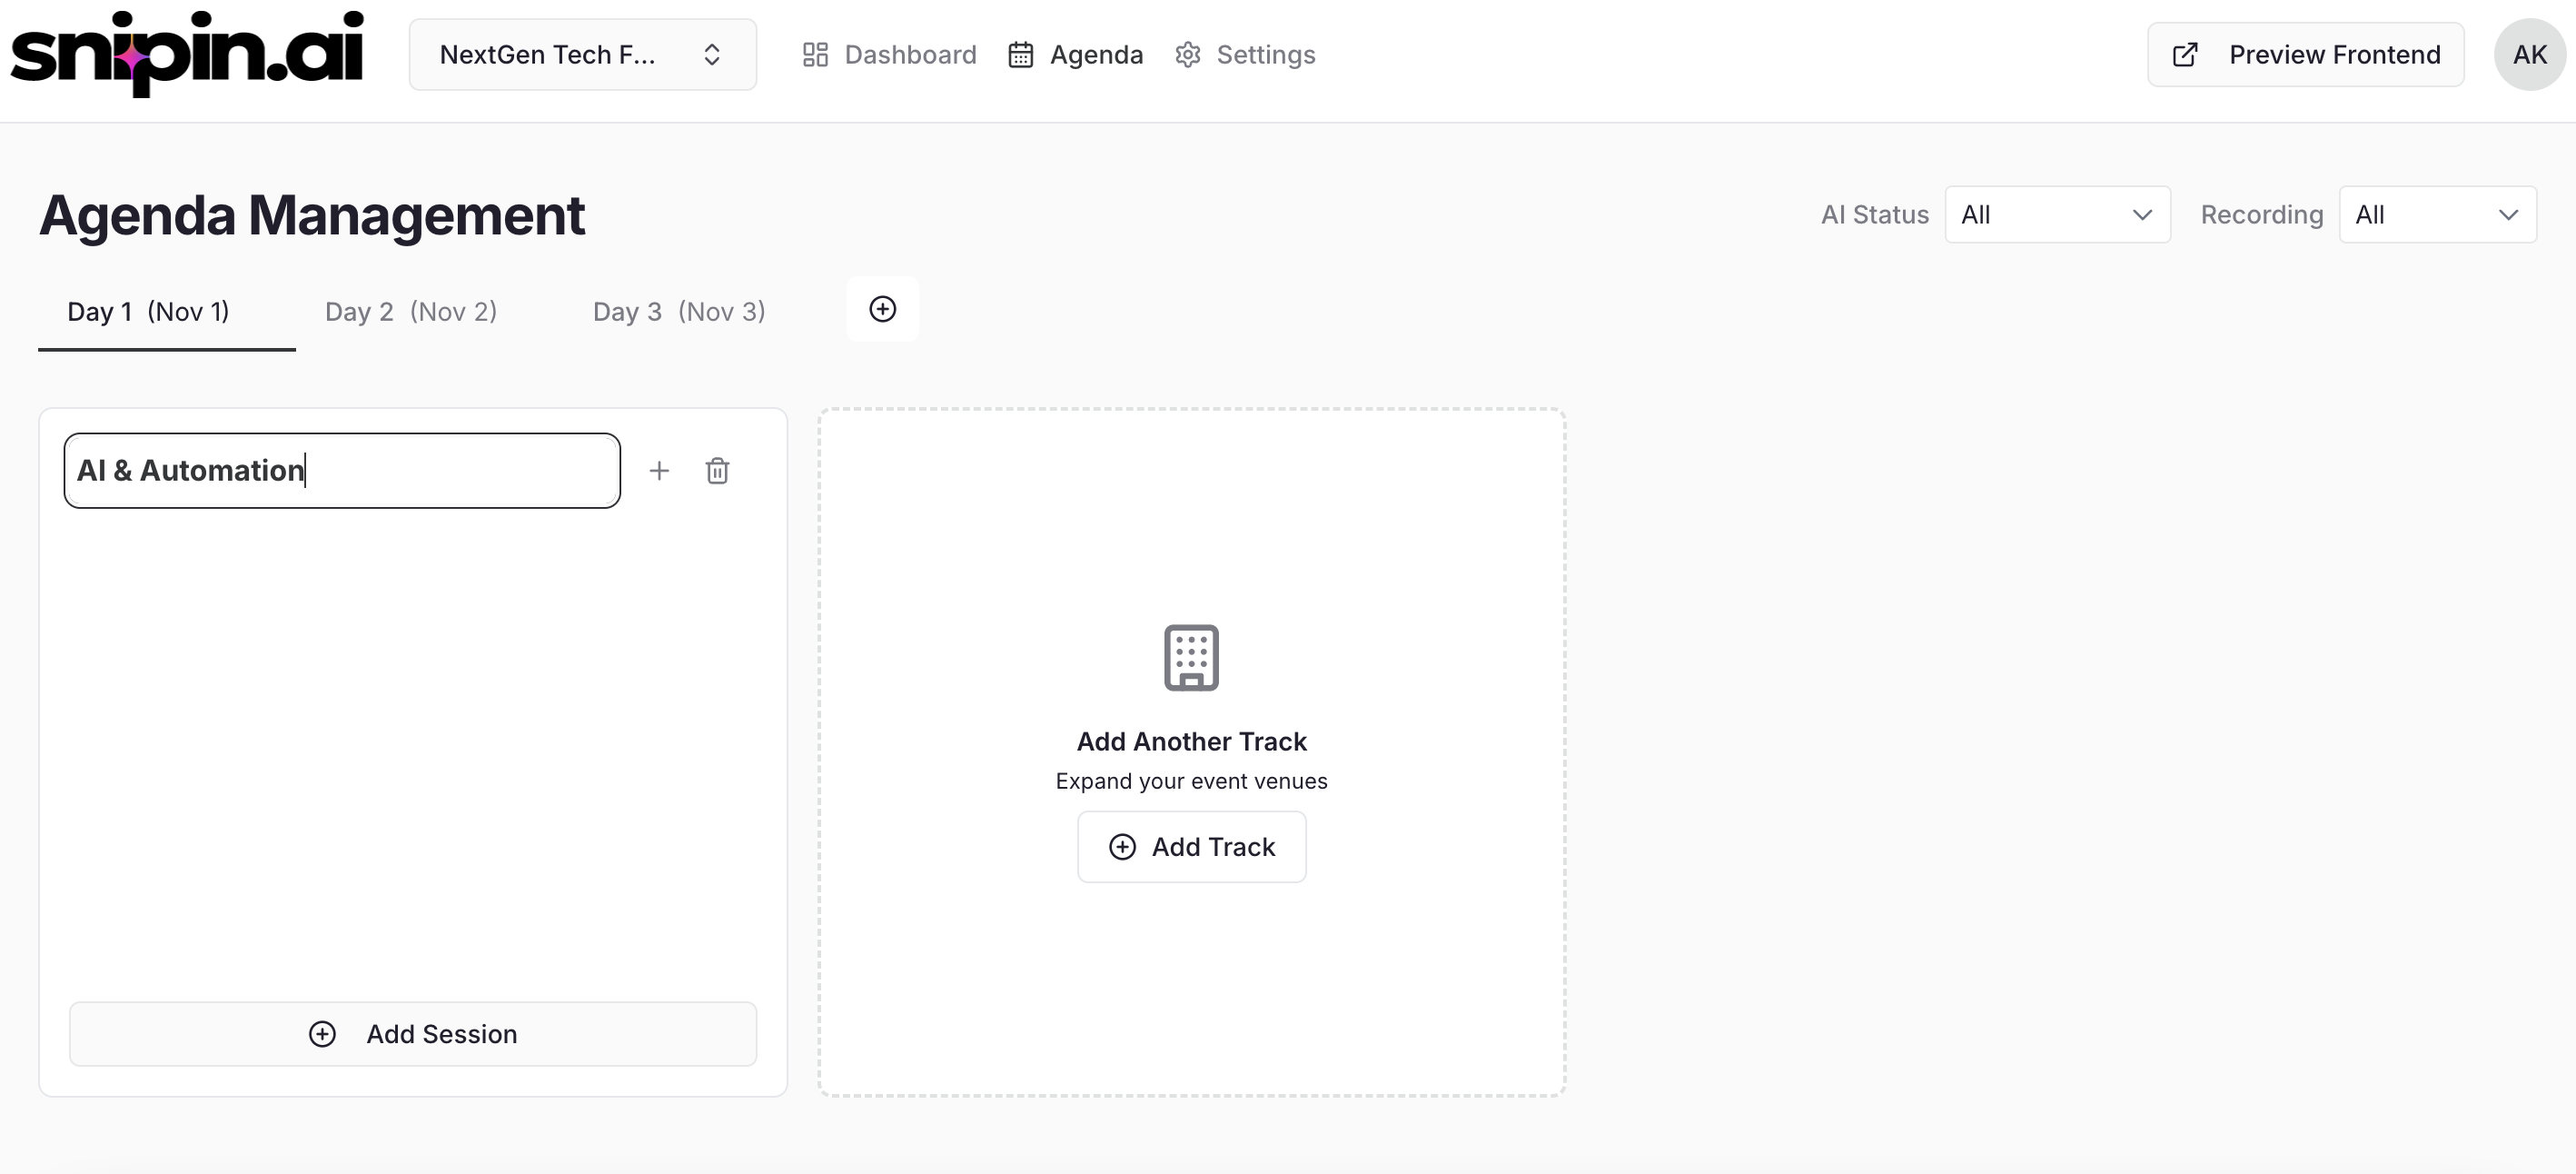
## 3. Add Tracks
Tracks help you organize sessions under broader themes or categories (like “Main Stage,” “Tech Pavilion,” or “Investor Talks”).
Click inside a **Day**, then select **“Add Track.”**
* **Track Name** – e.g., “AI & Innovation,” “Startup Stories.”
* Add as many tracks as your event needs.
* If your event doesn’t have separate tracks, Snipin AI automatically creates a **default track** for you.
* Click on **Track Name** to edit the name and hit enter to save
You can easily manage these days:
* 🟢 **Add a Day:** Click “+ Add Day” if your event extends or has an additional activity day.
* ✏️ **Edit a Day:** Rename or update day details if the schedule changes.
* ❌ **Delete a Day:** Remove any extra or unused day tabs.
Tip\_:\_ Keeping your event organized by days ensures cleaner structure and easier navigation when you have multiple sessions or tracks running simultaneously.
## 3. Add Tracks
Tracks help you organize sessions under broader themes or categories (like “Main Stage,” “Tech Pavilion,” or “Investor Talks”).
Click inside a **Day**, then select **“Add Track.”**
* **Track Name** – e.g., “AI & Innovation,” “Startup Stories.”
* Add as many tracks as your event needs.
* If your event doesn’t have separate tracks, Snipin AI automatically creates a **default track** for you.
* Click on **Track Name** to edit the name and hit enter to save
 *Pro Tip:* Tracks help your audience easily browse sessions on the final microsite view.
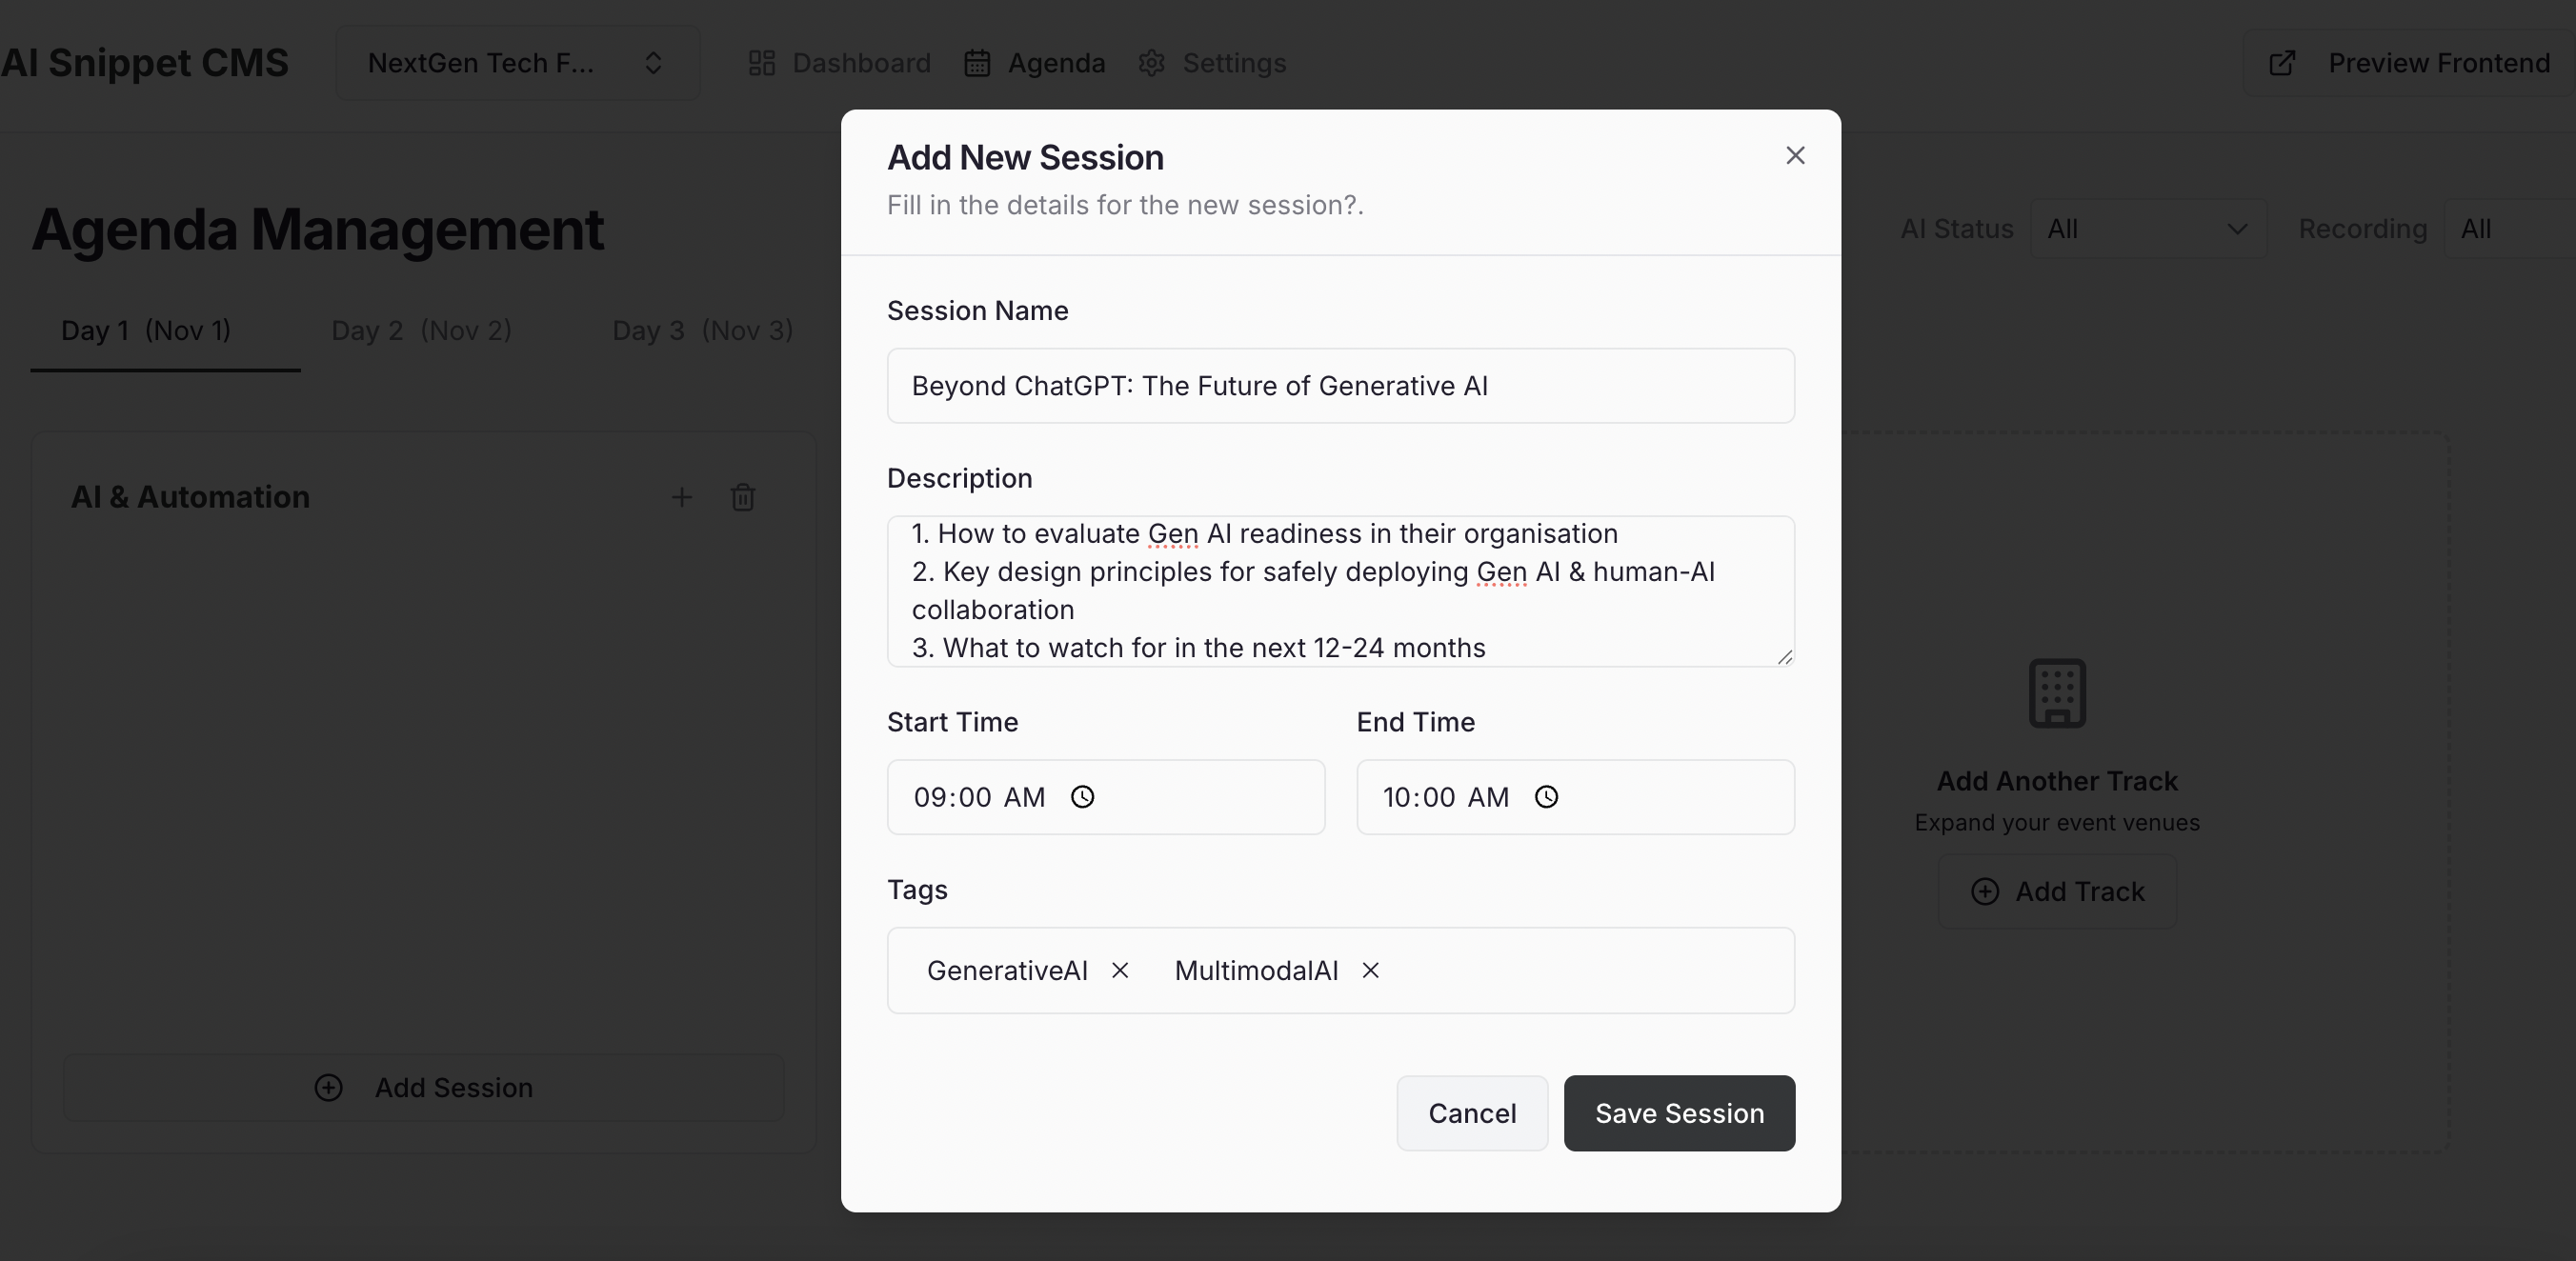
## 4. Add Sessions
Now that your tracks are set, it’s time to add individual sessions.
Within a track, click **“Add Session.”**
Fill in:
* **Session Name** – e.g., “Beyond ChatGPT: The Future of Generative AI.”
* **Description** – Briefly describe what the session covers.
* **Start & End Time** – Helps structure the event schedule.
* **Tags** – Add topic or industry keywords (e.g., #AI, #Fintech, #Sustainability).
*Pro Tip:* Tracks help your audience easily browse sessions on the final microsite view.
## 4. Add Sessions
Now that your tracks are set, it’s time to add individual sessions.
Within a track, click **“Add Session.”**
Fill in:
* **Session Name** – e.g., “Beyond ChatGPT: The Future of Generative AI.”
* **Description** – Briefly describe what the session covers.
* **Start & End Time** – Helps structure the event schedule.
* **Tags** – Add topic or industry keywords (e.g., #AI, #Fintech, #Sustainability).
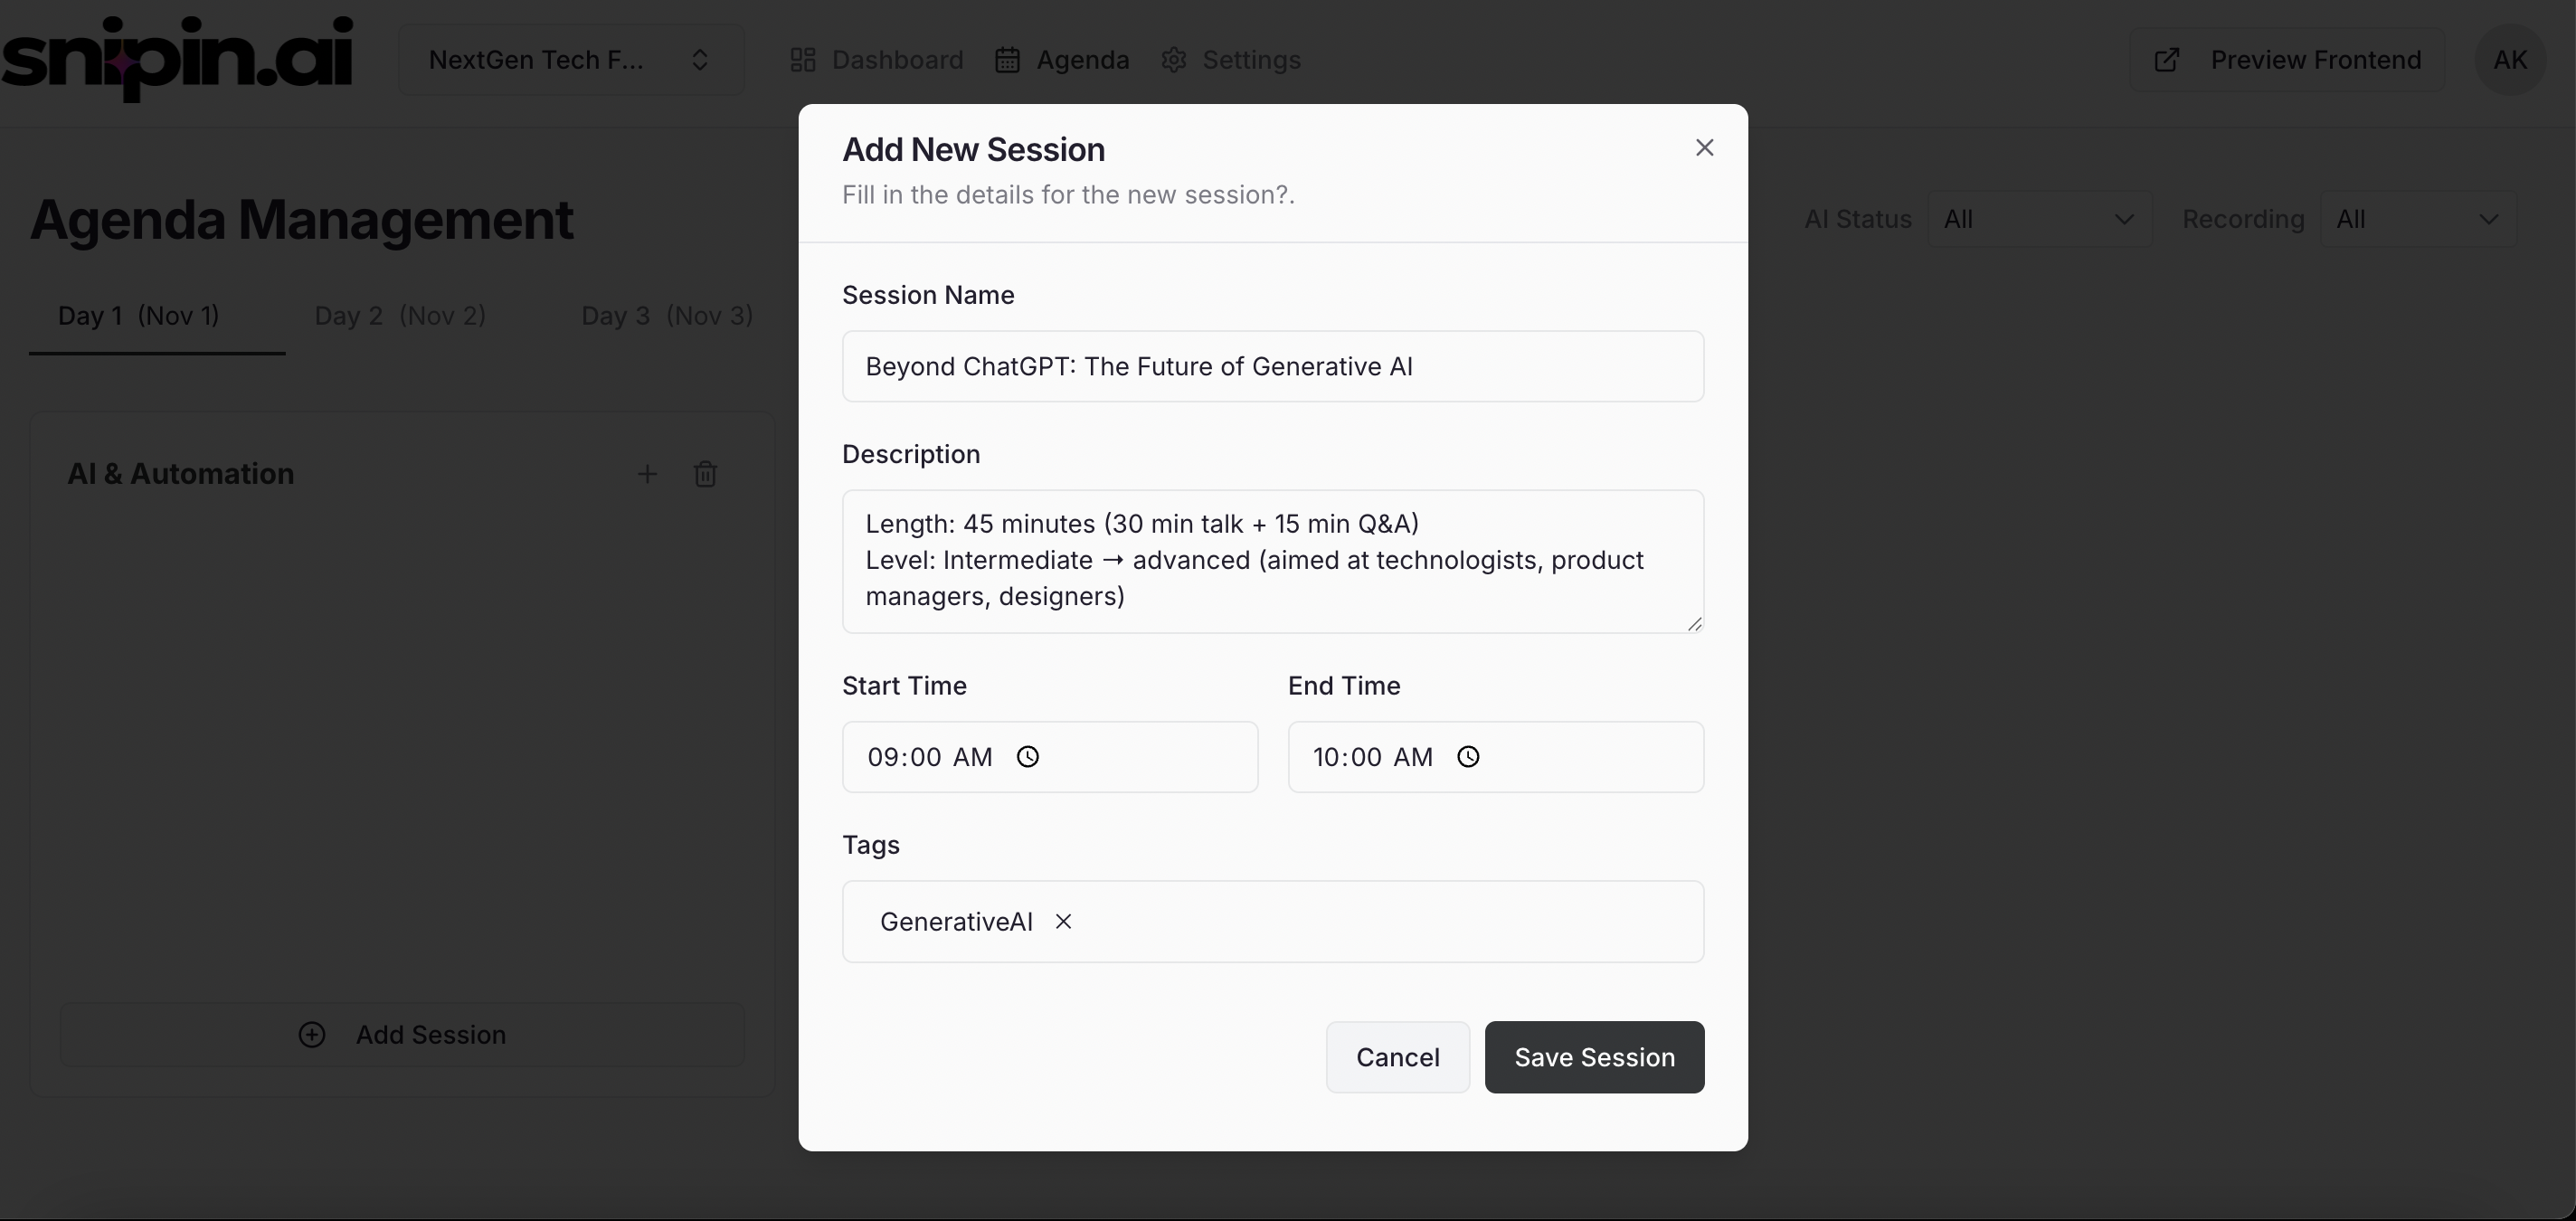
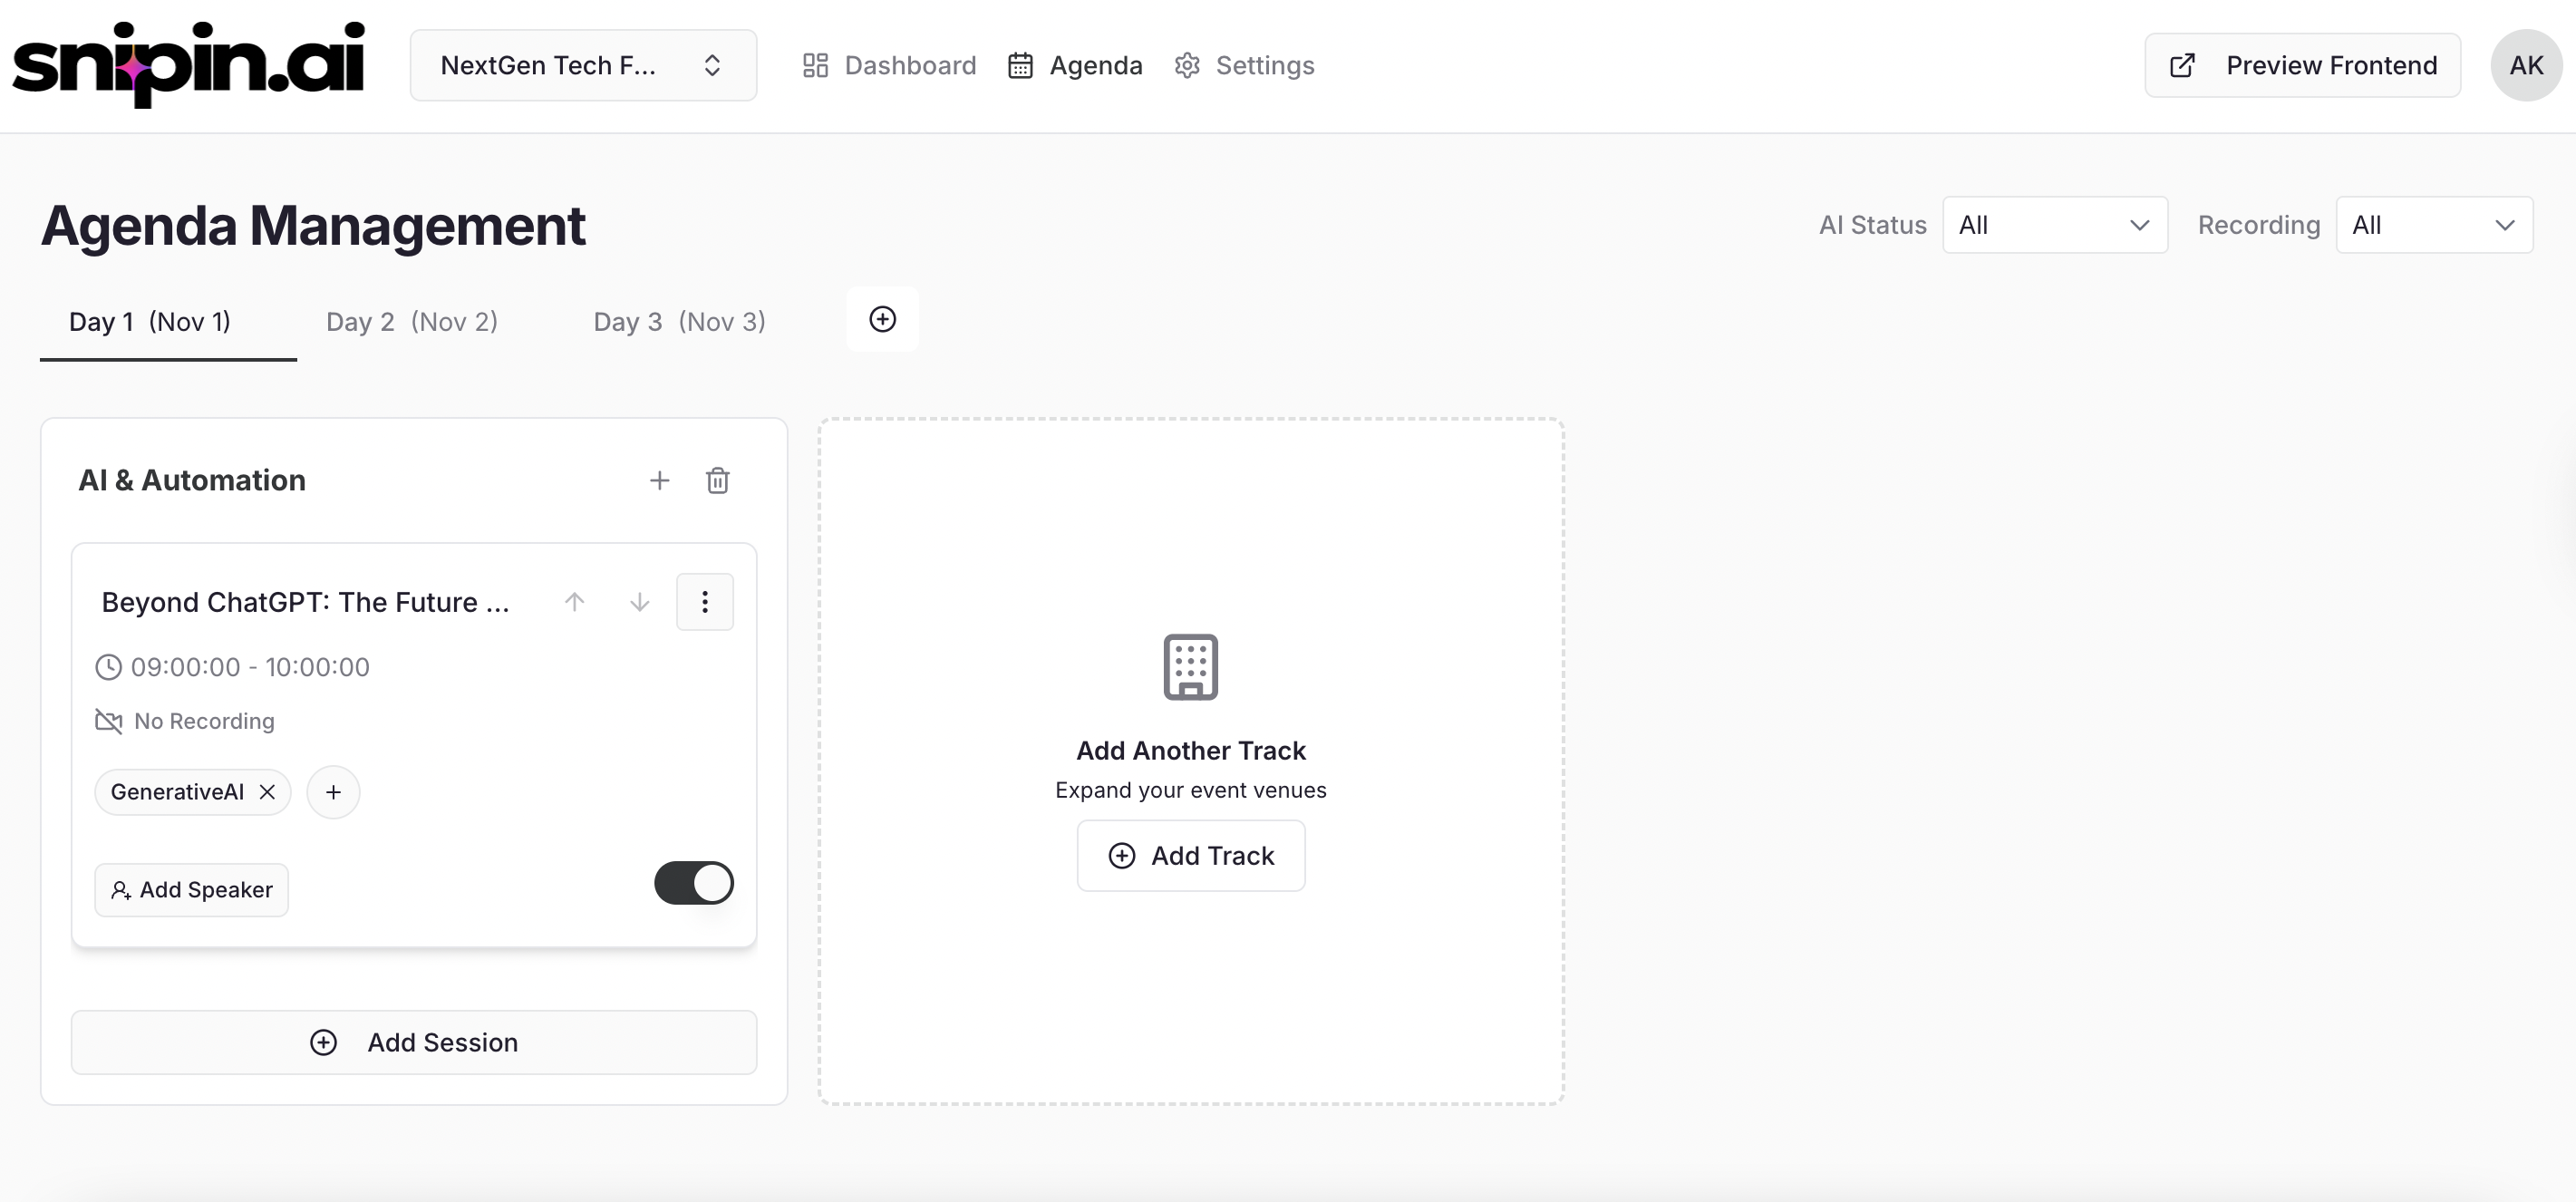 Once done, click **Save** — your session card will now appear under the respective day and track.
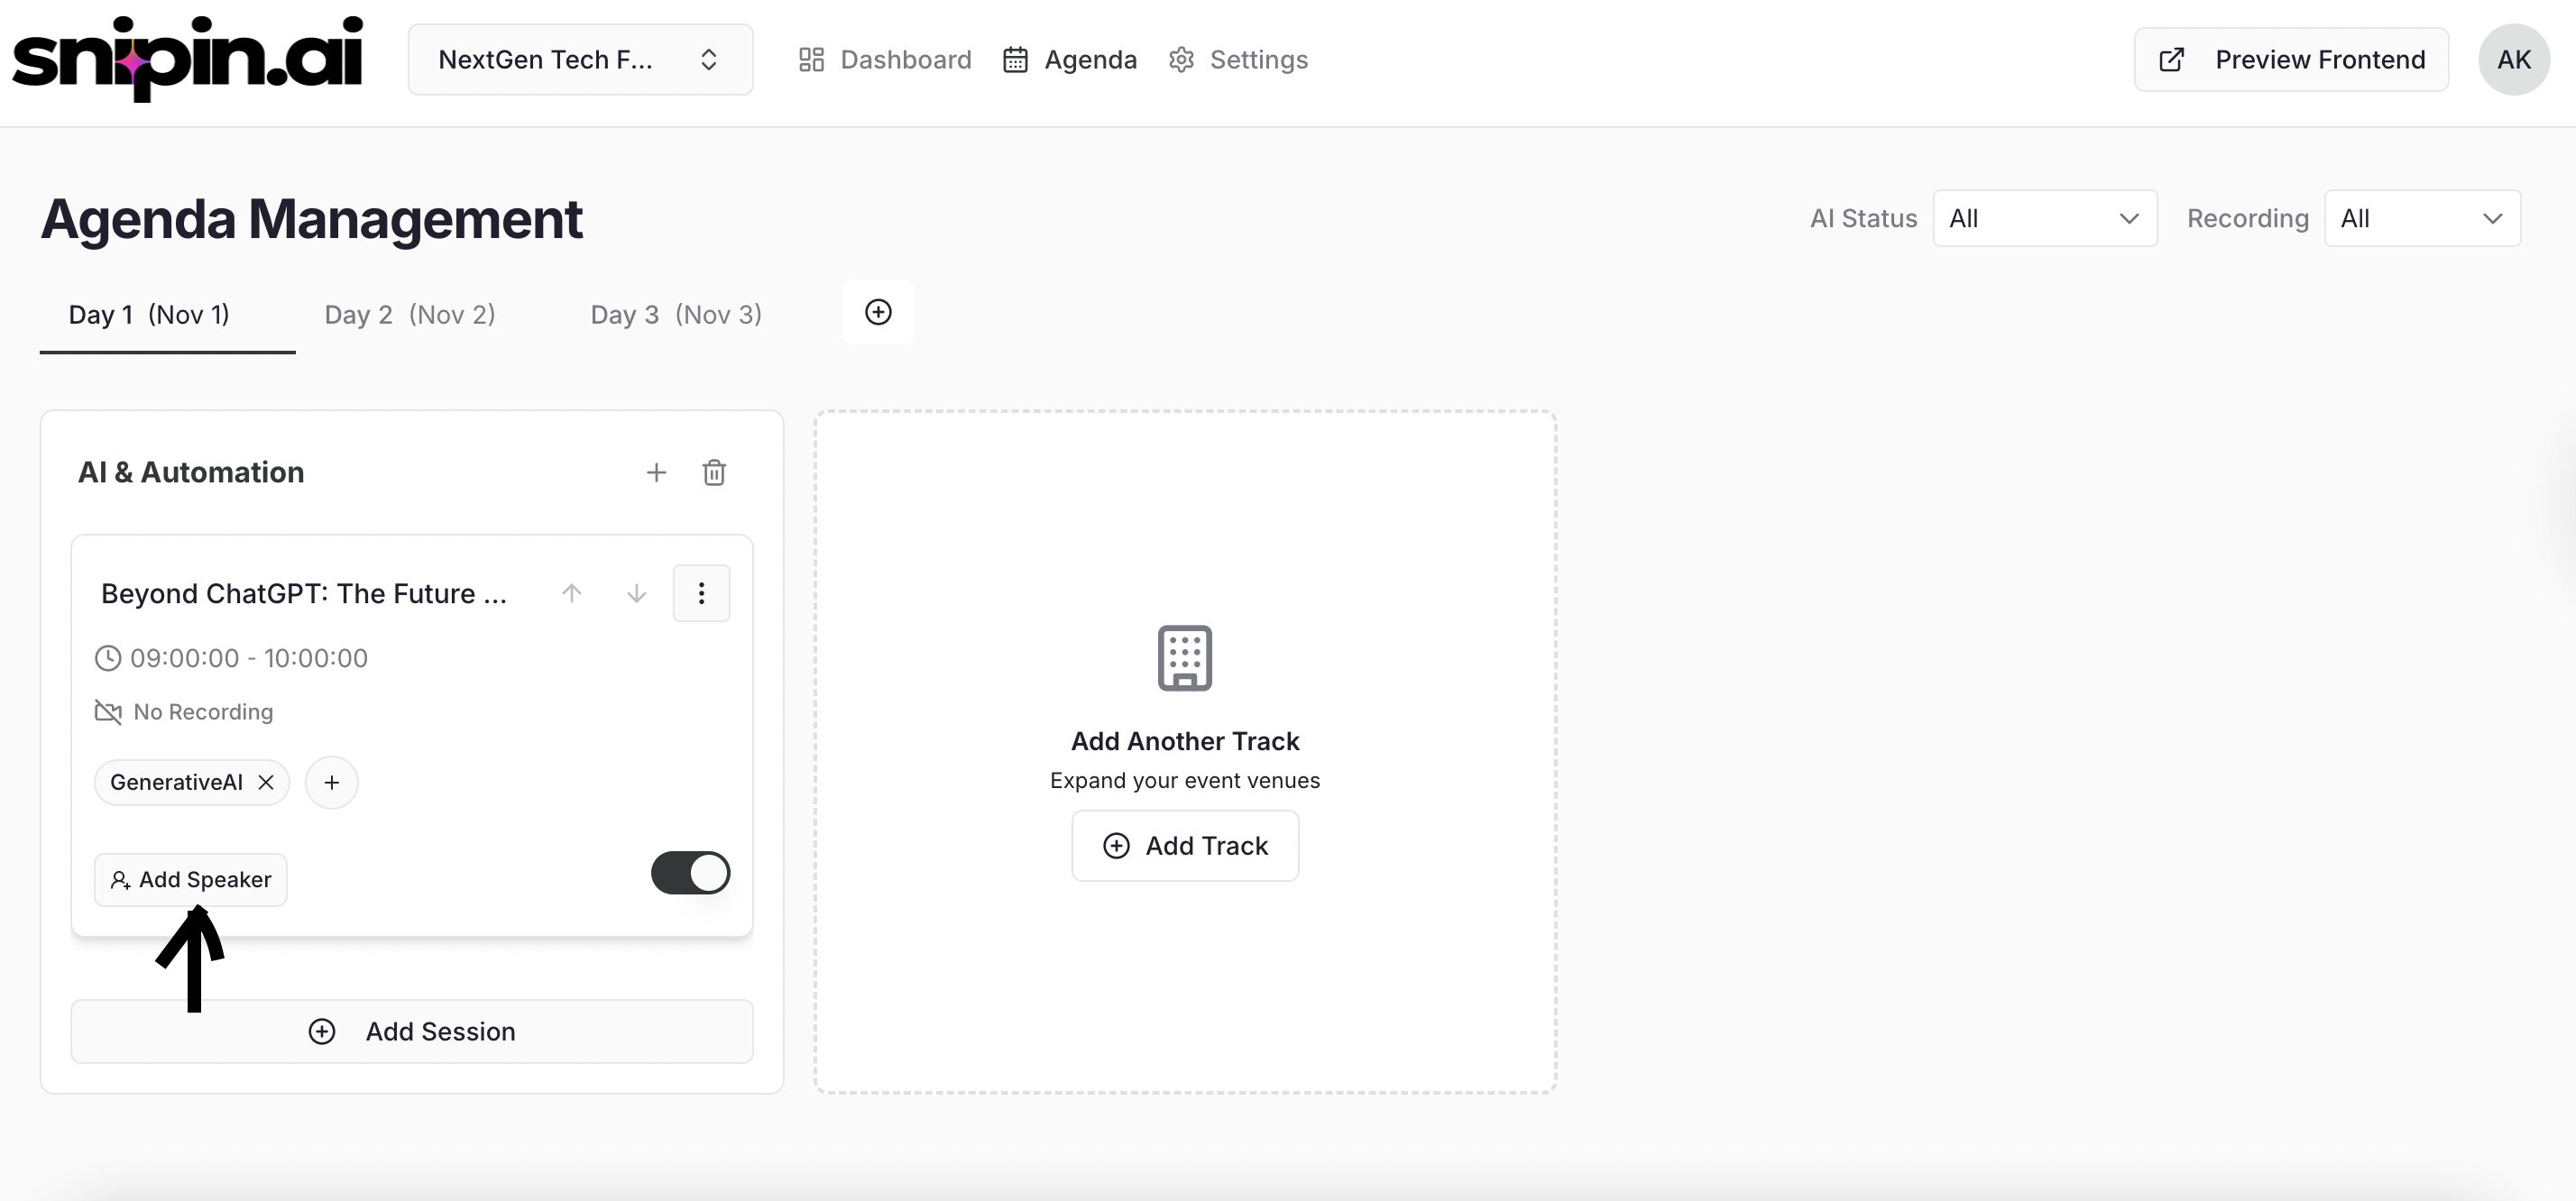
## 5: Map Speakers
After creating sessions, you can assign speakers to them.
Click on the **“Add Speaker”** button on the session card.
Once done, click **Save** — your session card will now appear under the respective day and track.
## 5: Map Speakers
After creating sessions, you can assign speakers to them.
Click on the **“Add Speaker”** button on the session card.
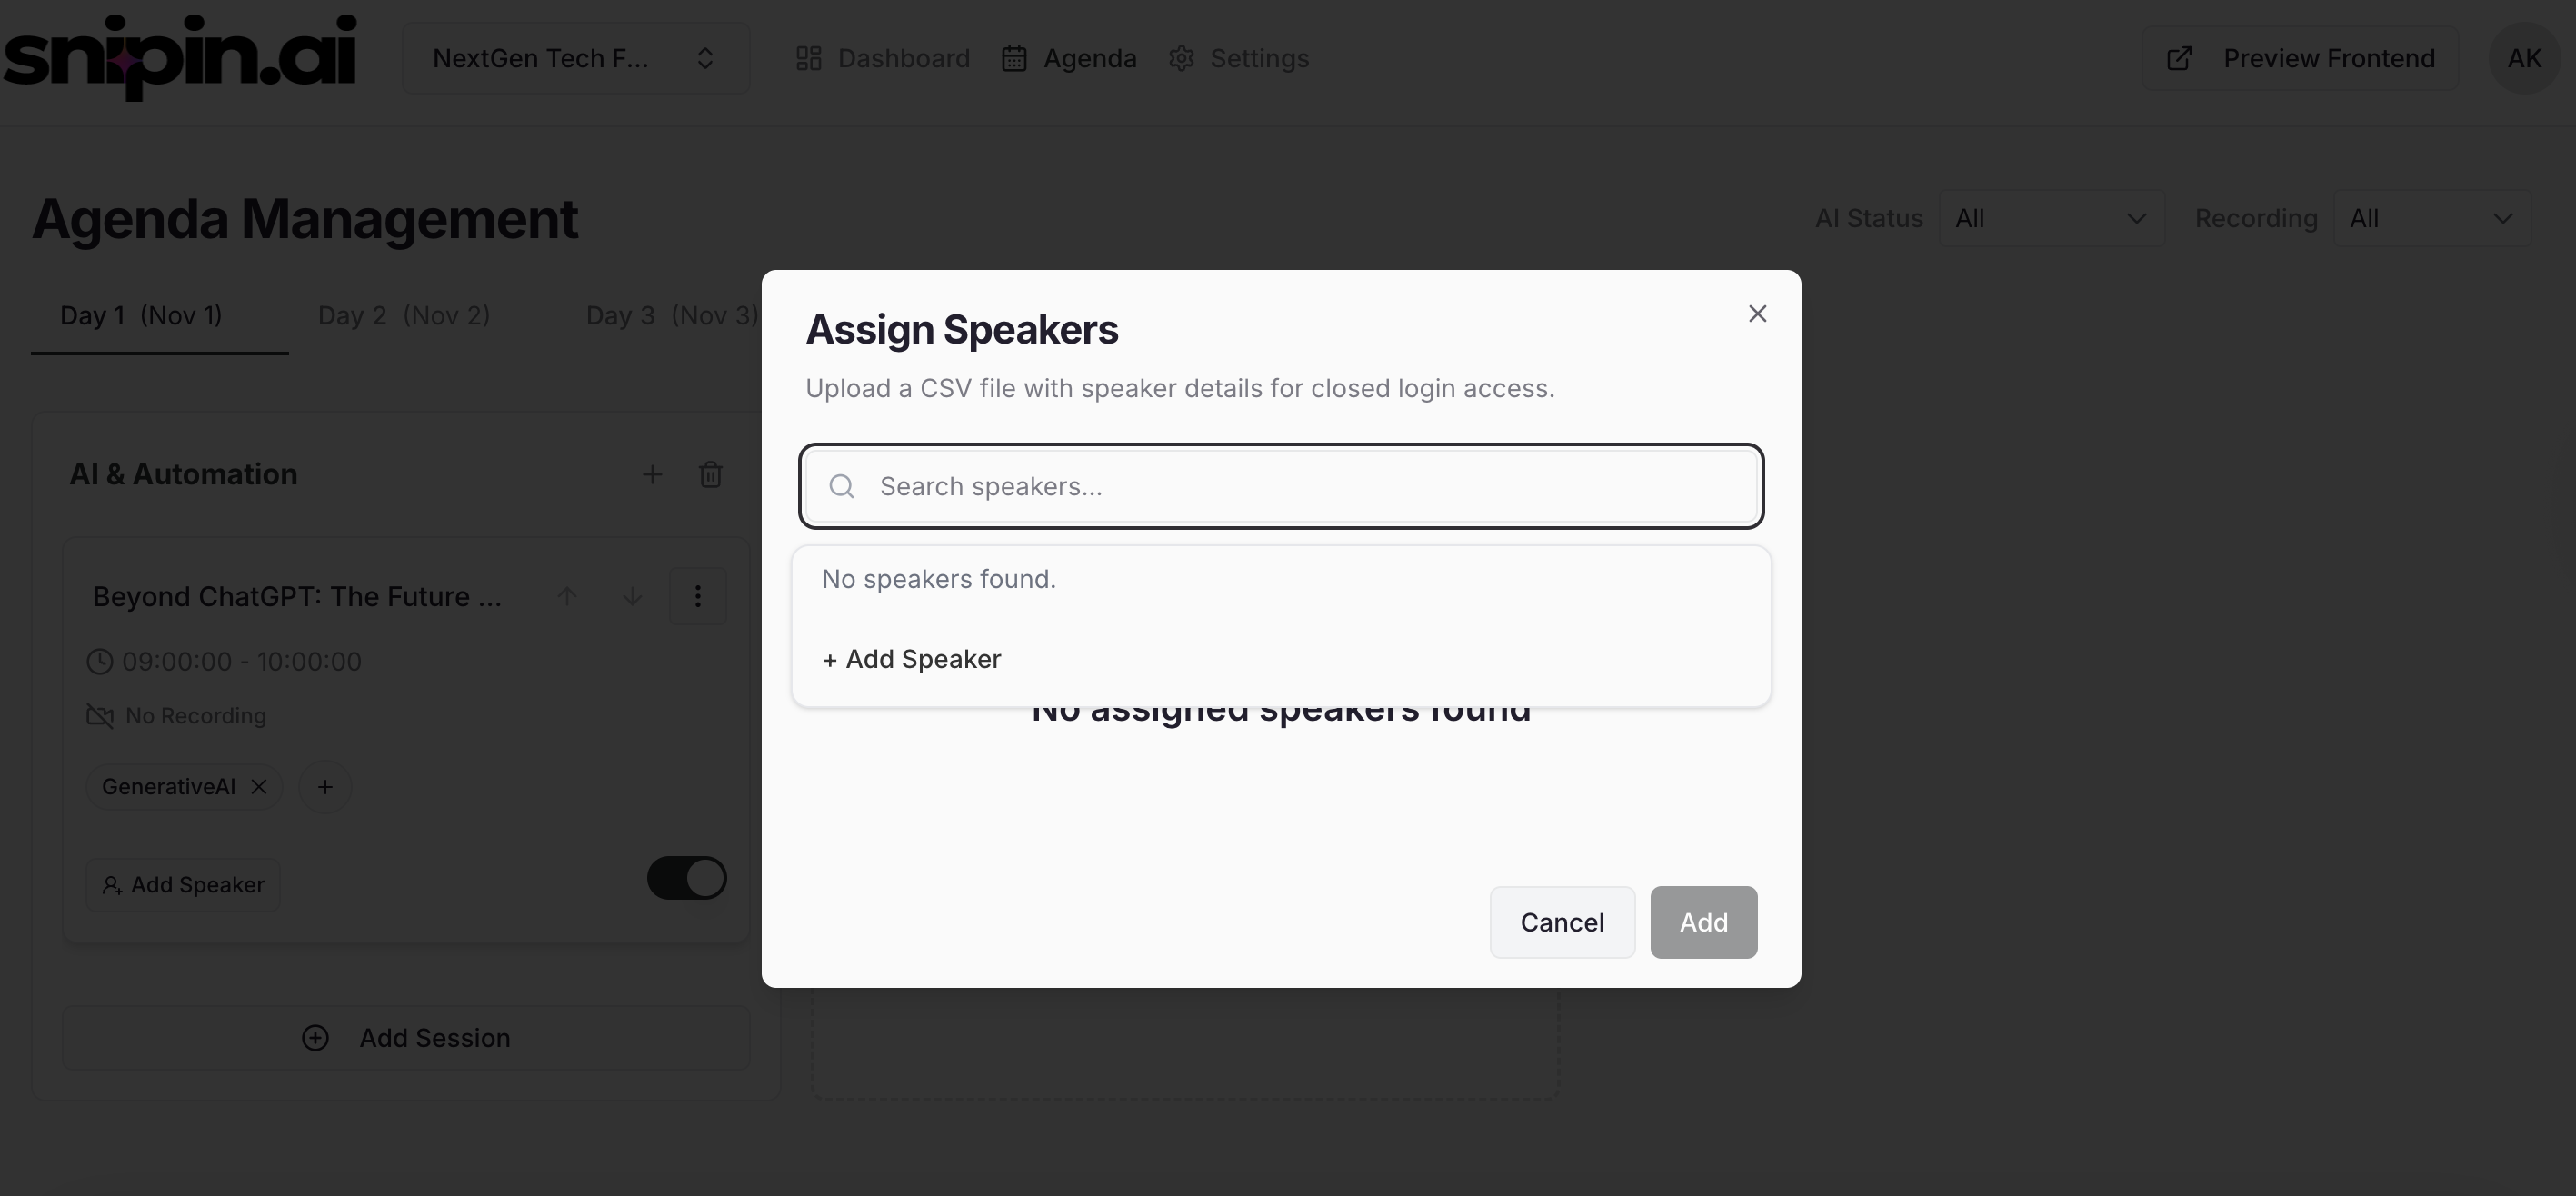
 Click on search speakers and then click on “+Add Speraker”
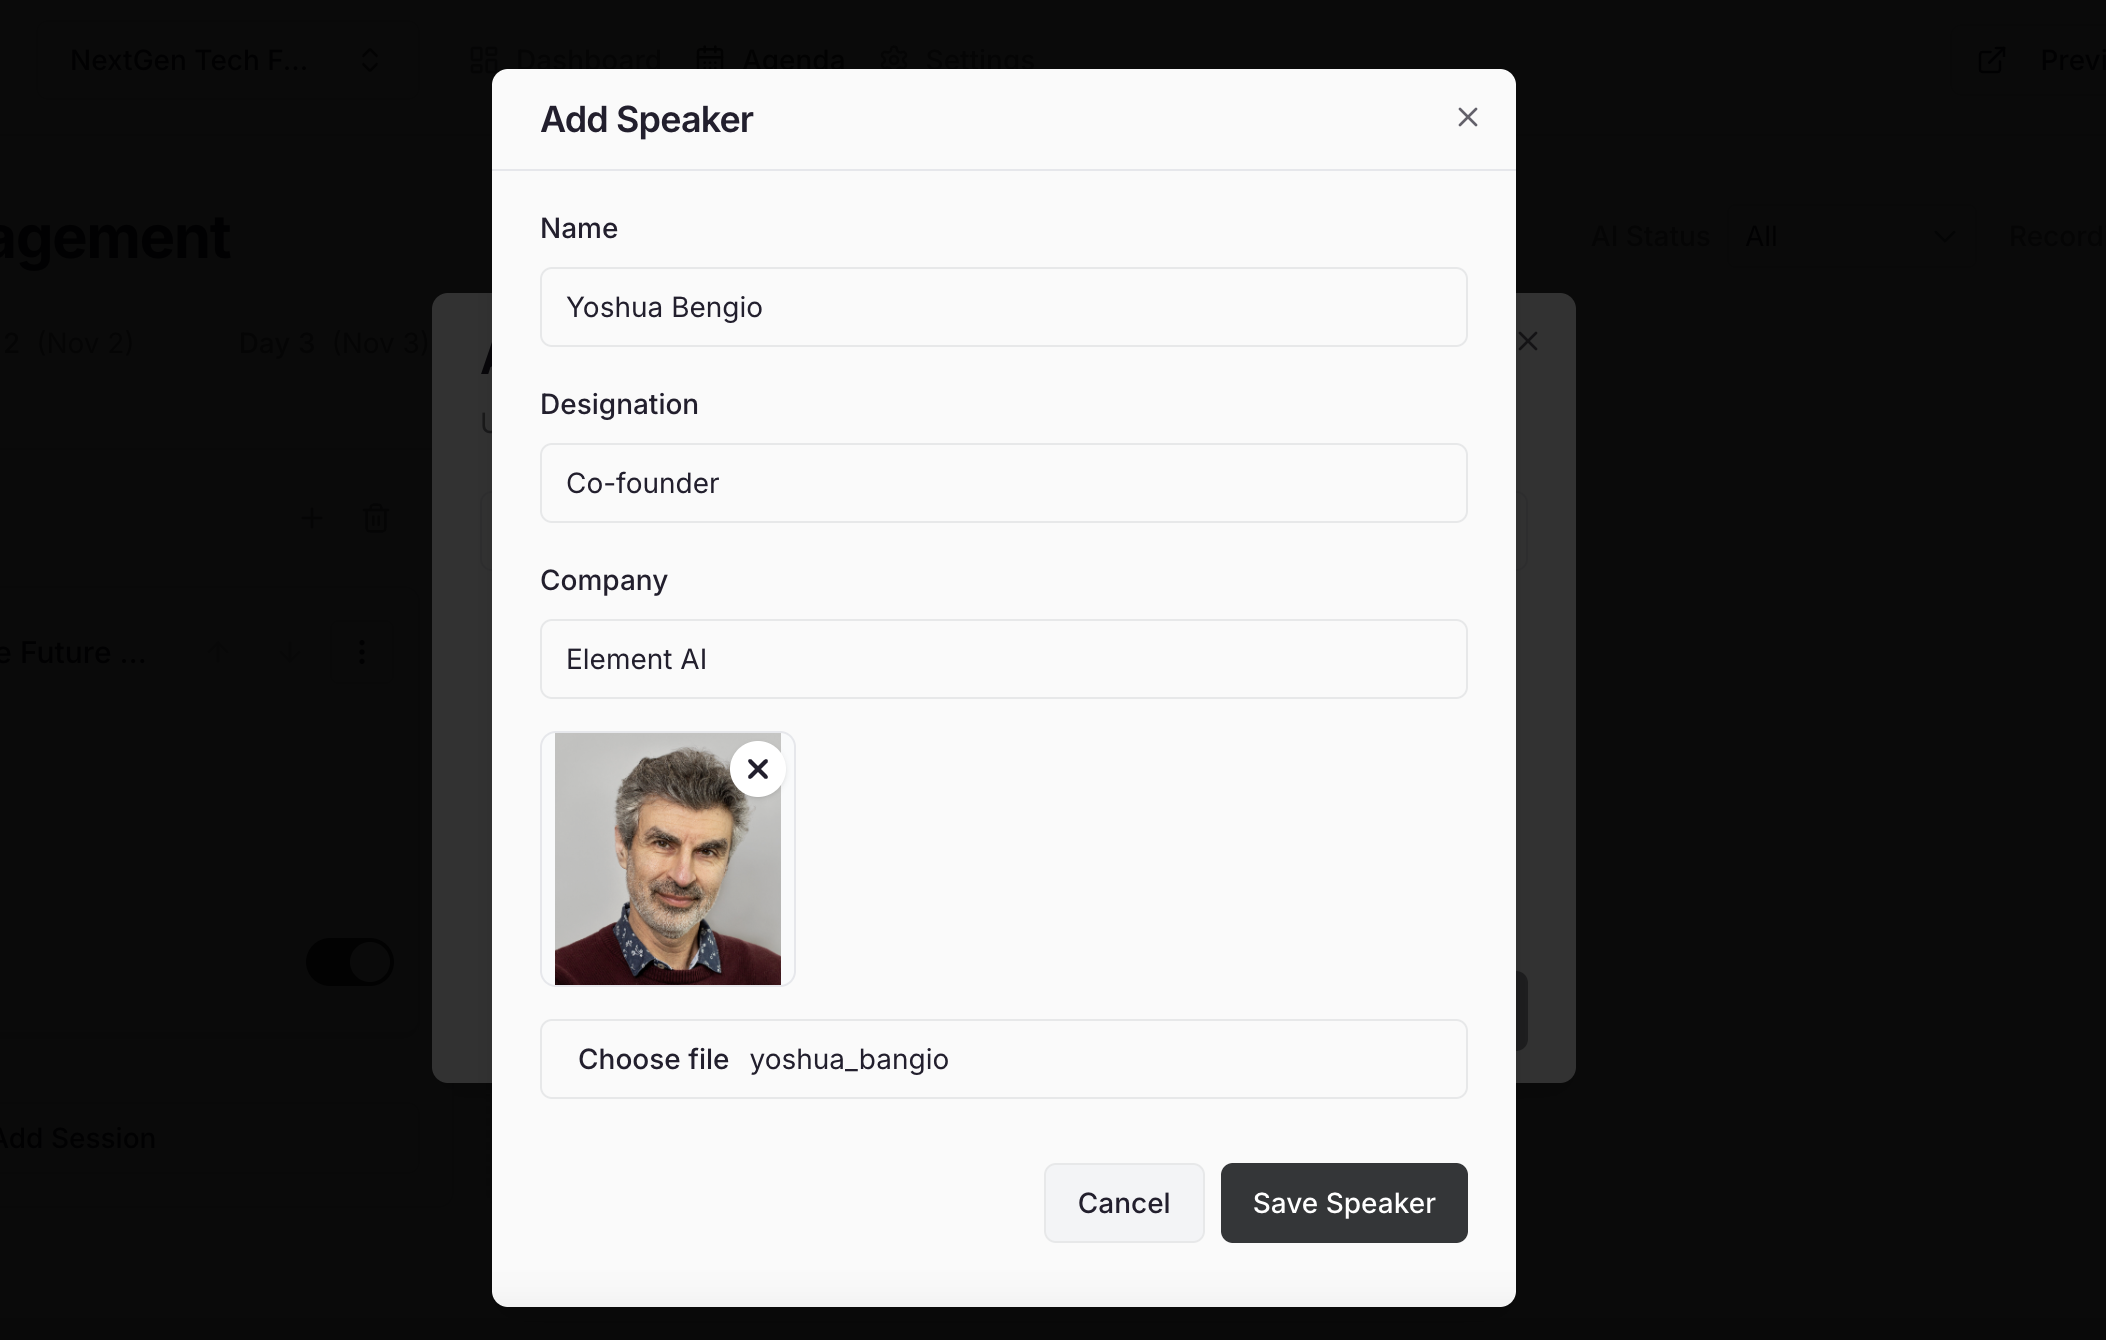
Fill in:
* **Speaker Name**
* **Designation / Company**
* **Short Bio (optional)**
* **Profile Picture (optional)**
Click on search speakers and then click on “+Add Speraker”
Fill in:
* **Speaker Name**
* **Designation / Company**
* **Short Bio (optional)**
* **Profile Picture (optional)**
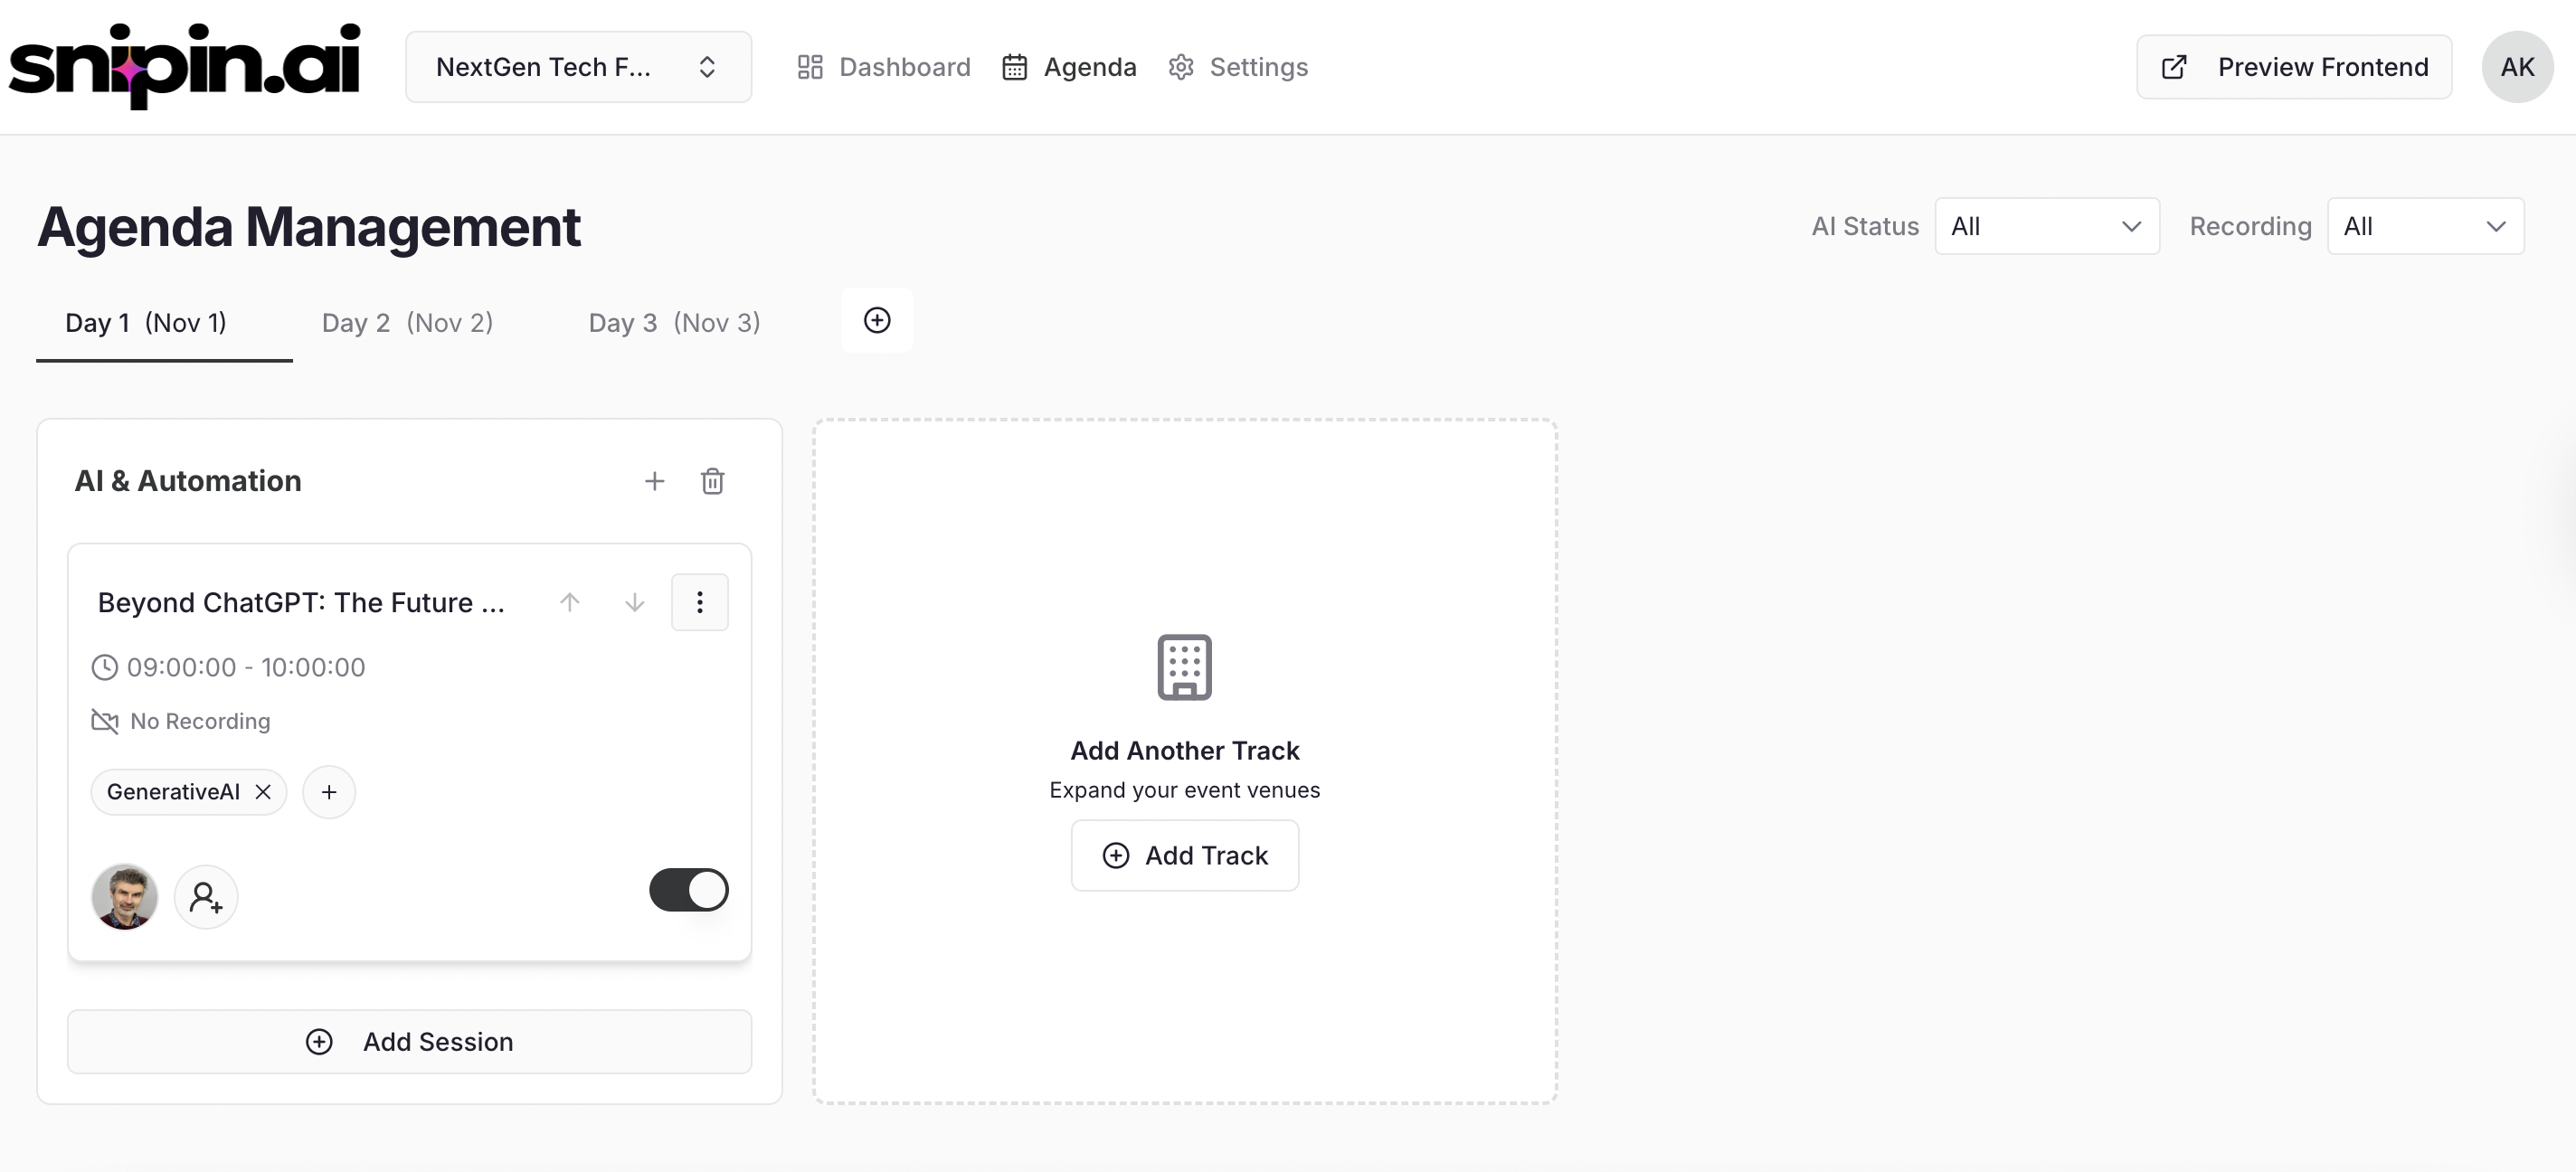 Each speaker will be visible on your microsite and linked to their session automatically.
***
## 6: Upload Your Content
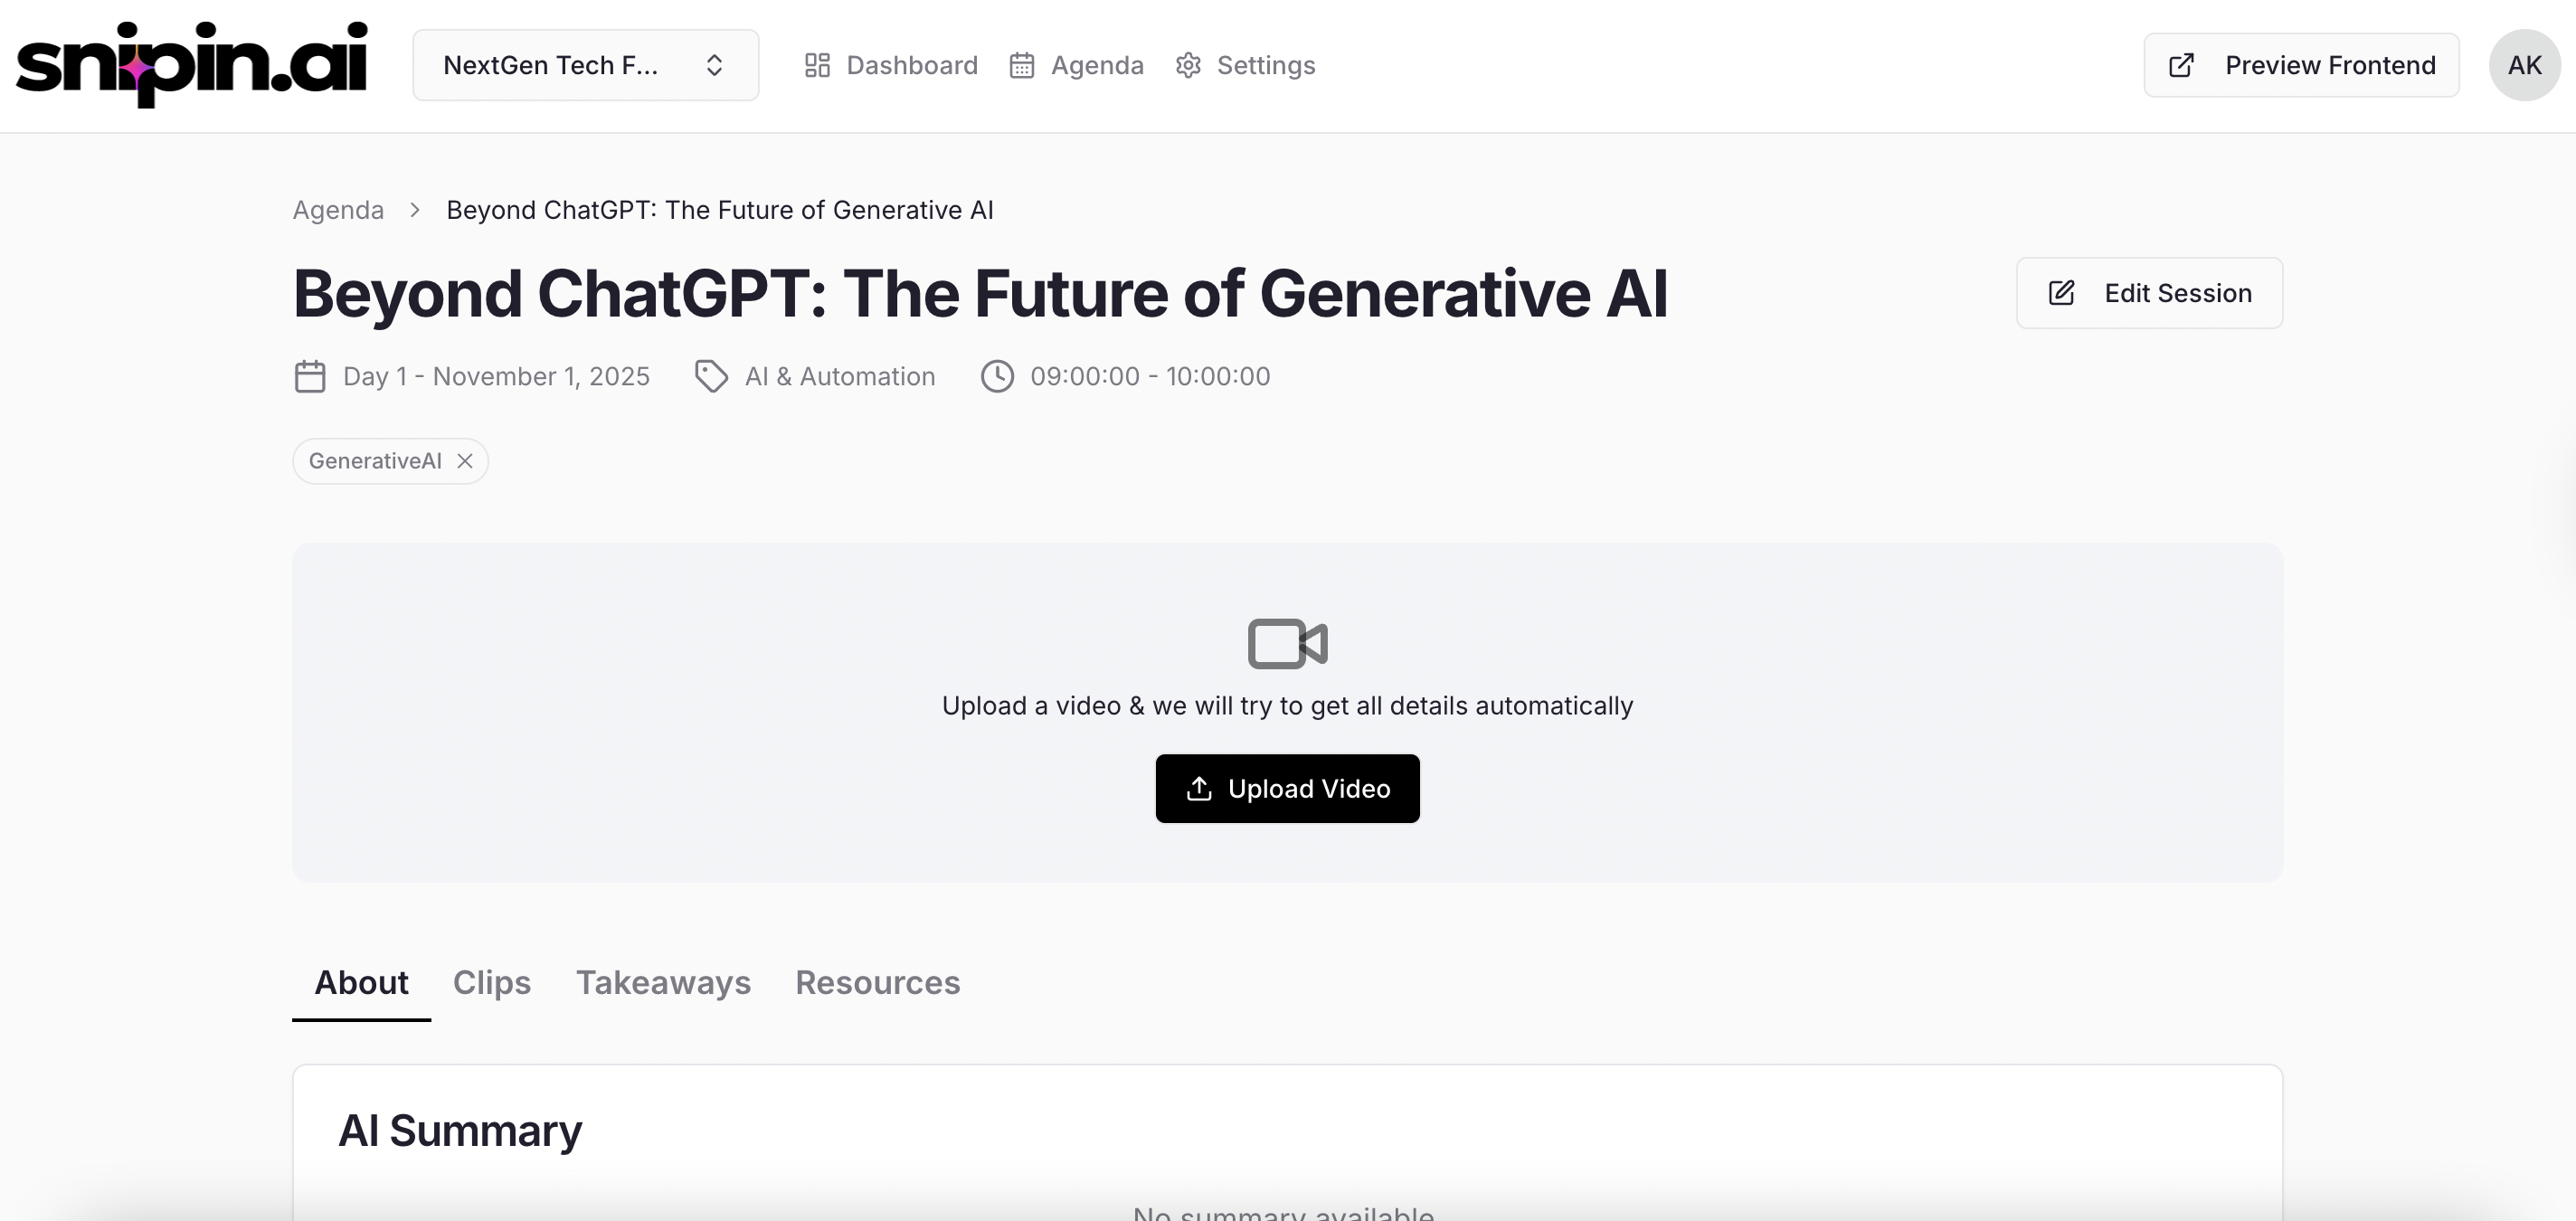
Now you’re ready to upload your session video — the core content Snipin AI will process.
Click on a **Session Card** → go to the **Session Detail Page** → click **“Upload Video.”**
Drag & drop your video file or browse to upload.
### Upload Guidelines
| Category | Supported Formats | Notes |
| :----------------------- | :--------------------------------------------------------------------- | :---------------------------------------- |
| **Video** | `.mp4`, `.mpeg` | Max Size: 2GB Duration: 20 mins – 2 hours |
| **Resources (Optional)** | `.pdf`, `.doc`, `.xls`, `.ppt`, `.odt`, `.ods`, `.odp`, `.jpg`, `.png` | Non-executable files only |
Each speaker will be visible on your microsite and linked to their session automatically.
***
## 6: Upload Your Content
Now you’re ready to upload your session video — the core content Snipin AI will process.
Click on a **Session Card** → go to the **Session Detail Page** → click **“Upload Video.”**
Drag & drop your video file or browse to upload.
### Upload Guidelines
| Category | Supported Formats | Notes |
| :----------------------- | :--------------------------------------------------------------------- | :---------------------------------------- |
| **Video** | `.mp4`, `.mpeg` | Max Size: 2GB Duration: 20 mins – 2 hours |
| **Resources (Optional)** | `.pdf`, `.doc`, `.xls`, `.ppt`, `.odt`, `.ods`, `.odp`, `.jpg`, `.png` | Non-executable files only |
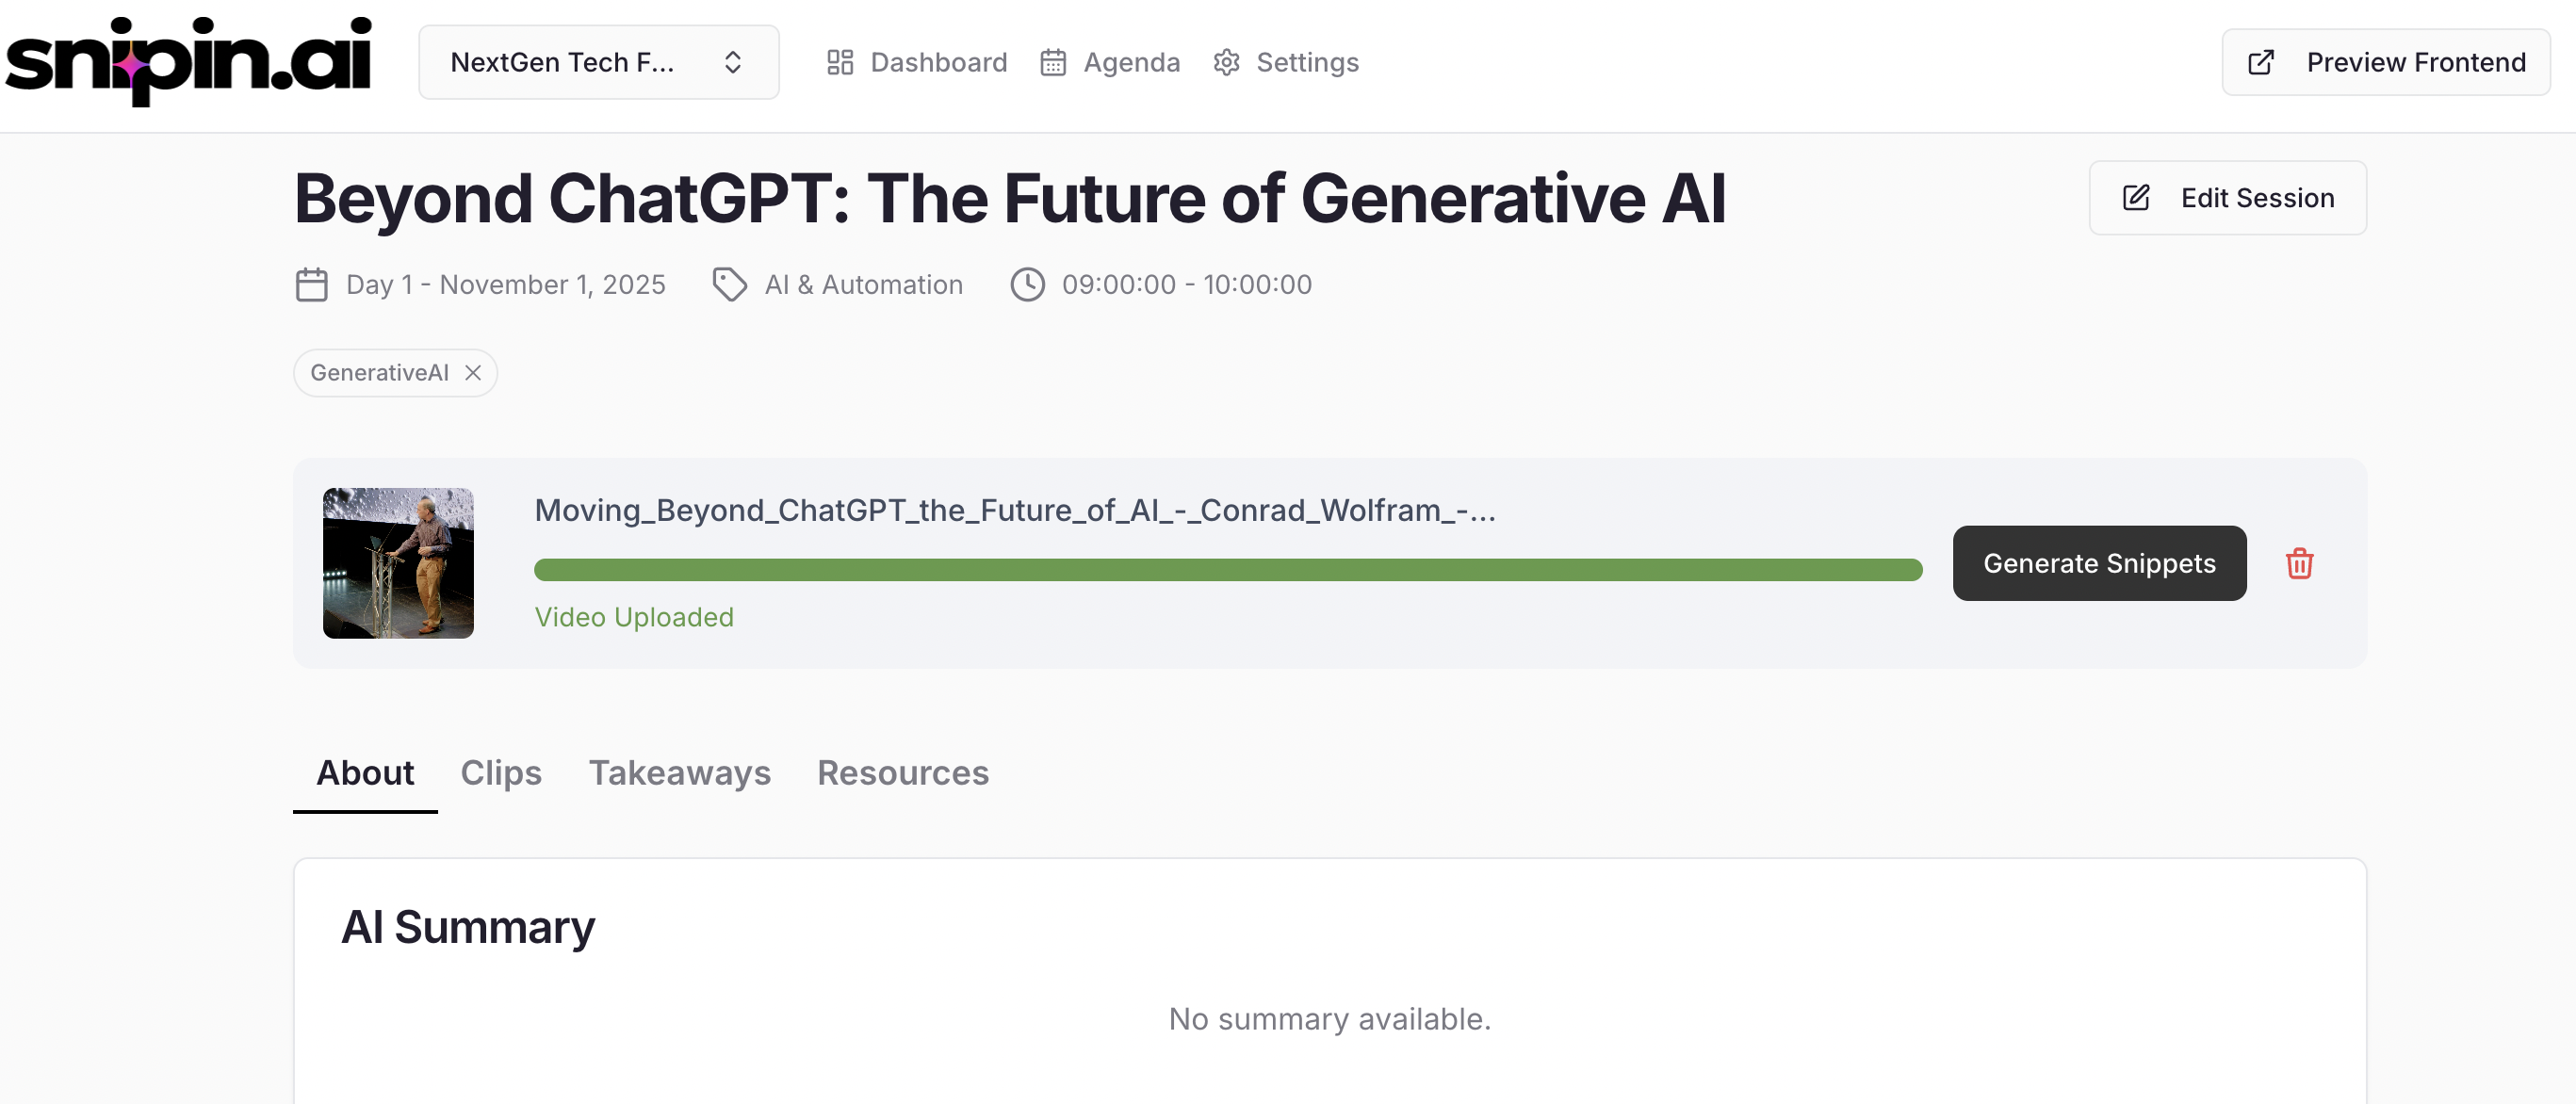
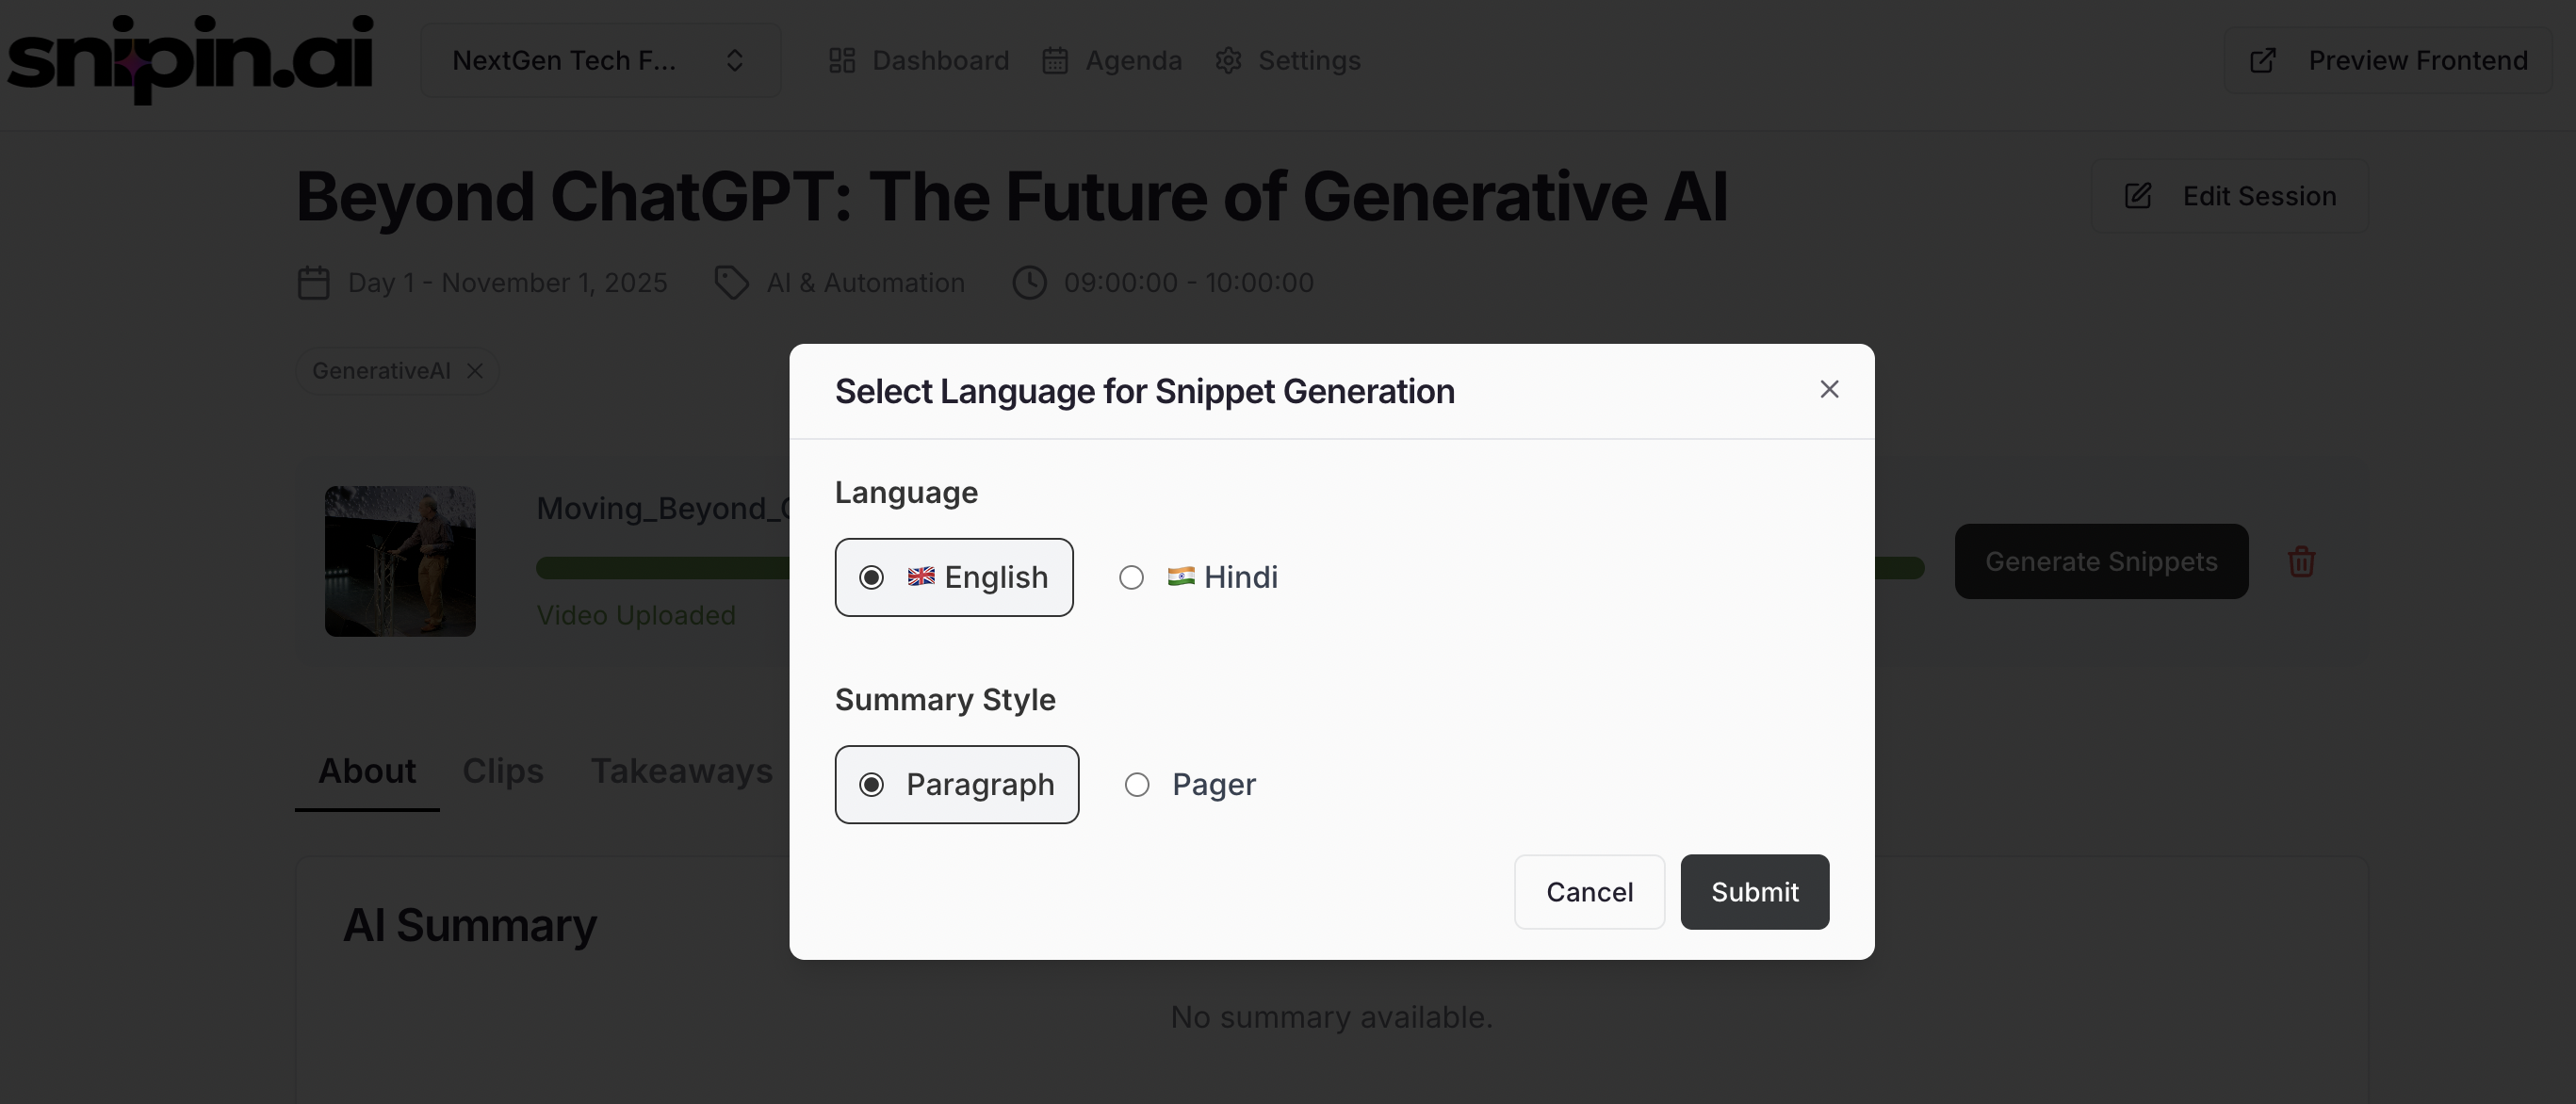 Once the video uploaded, Click on the “Generate Snippet” button. Select the language of video
and Submit
💡 *Tip:* Upload high-quality videos with good lighting and audio for better AI-generated results.
***
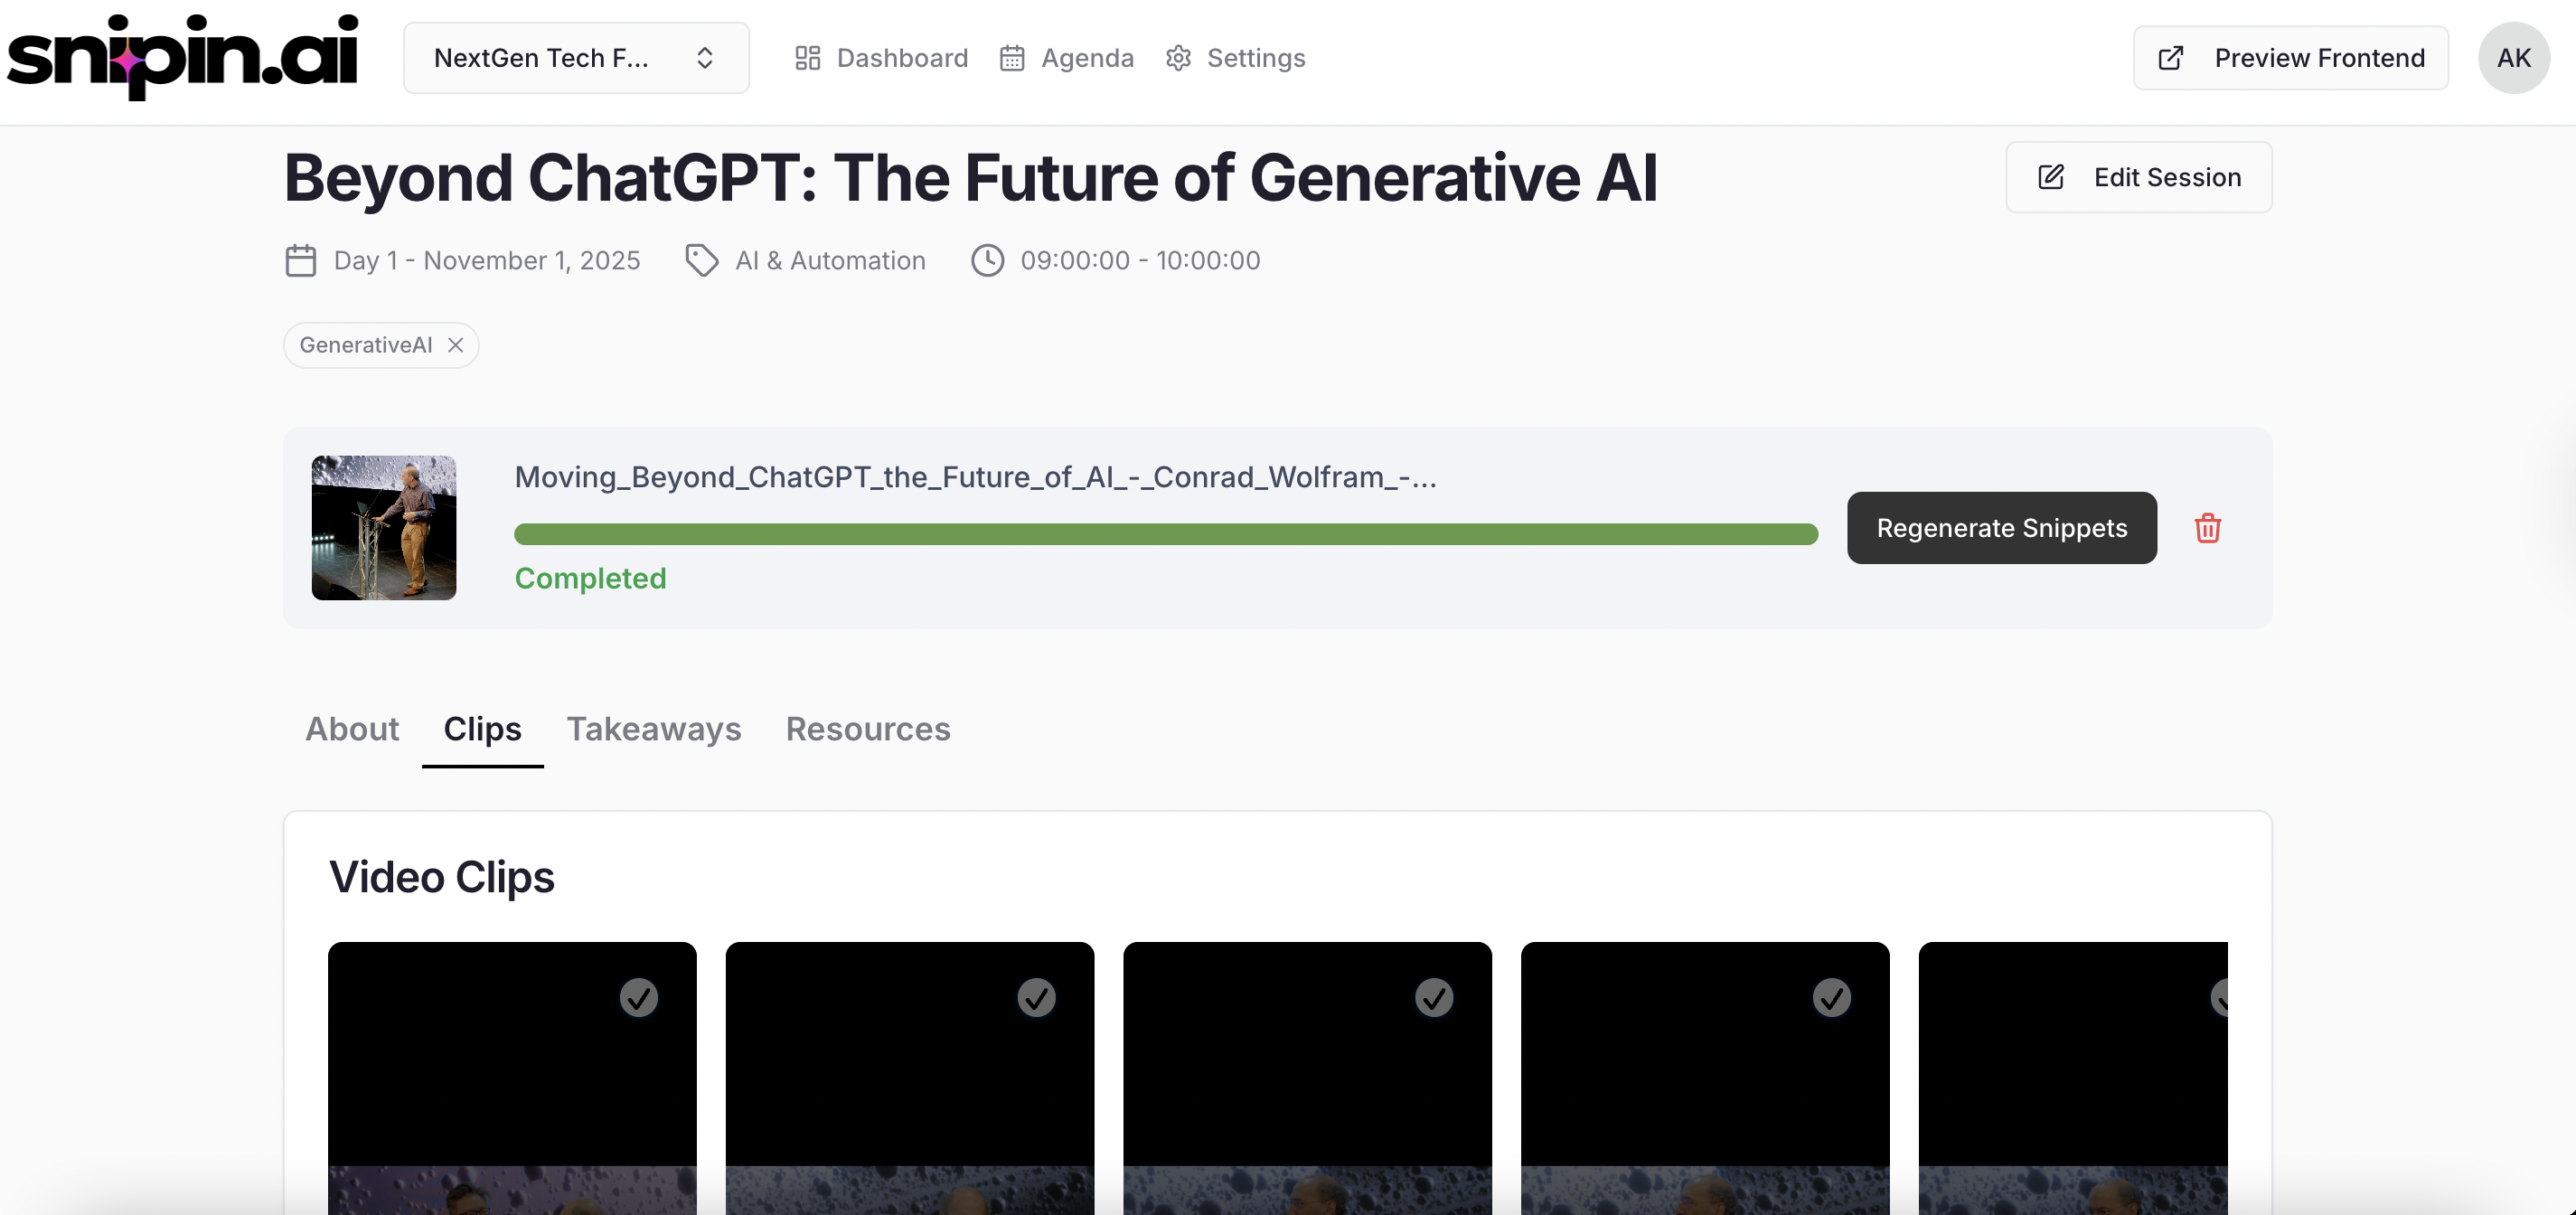
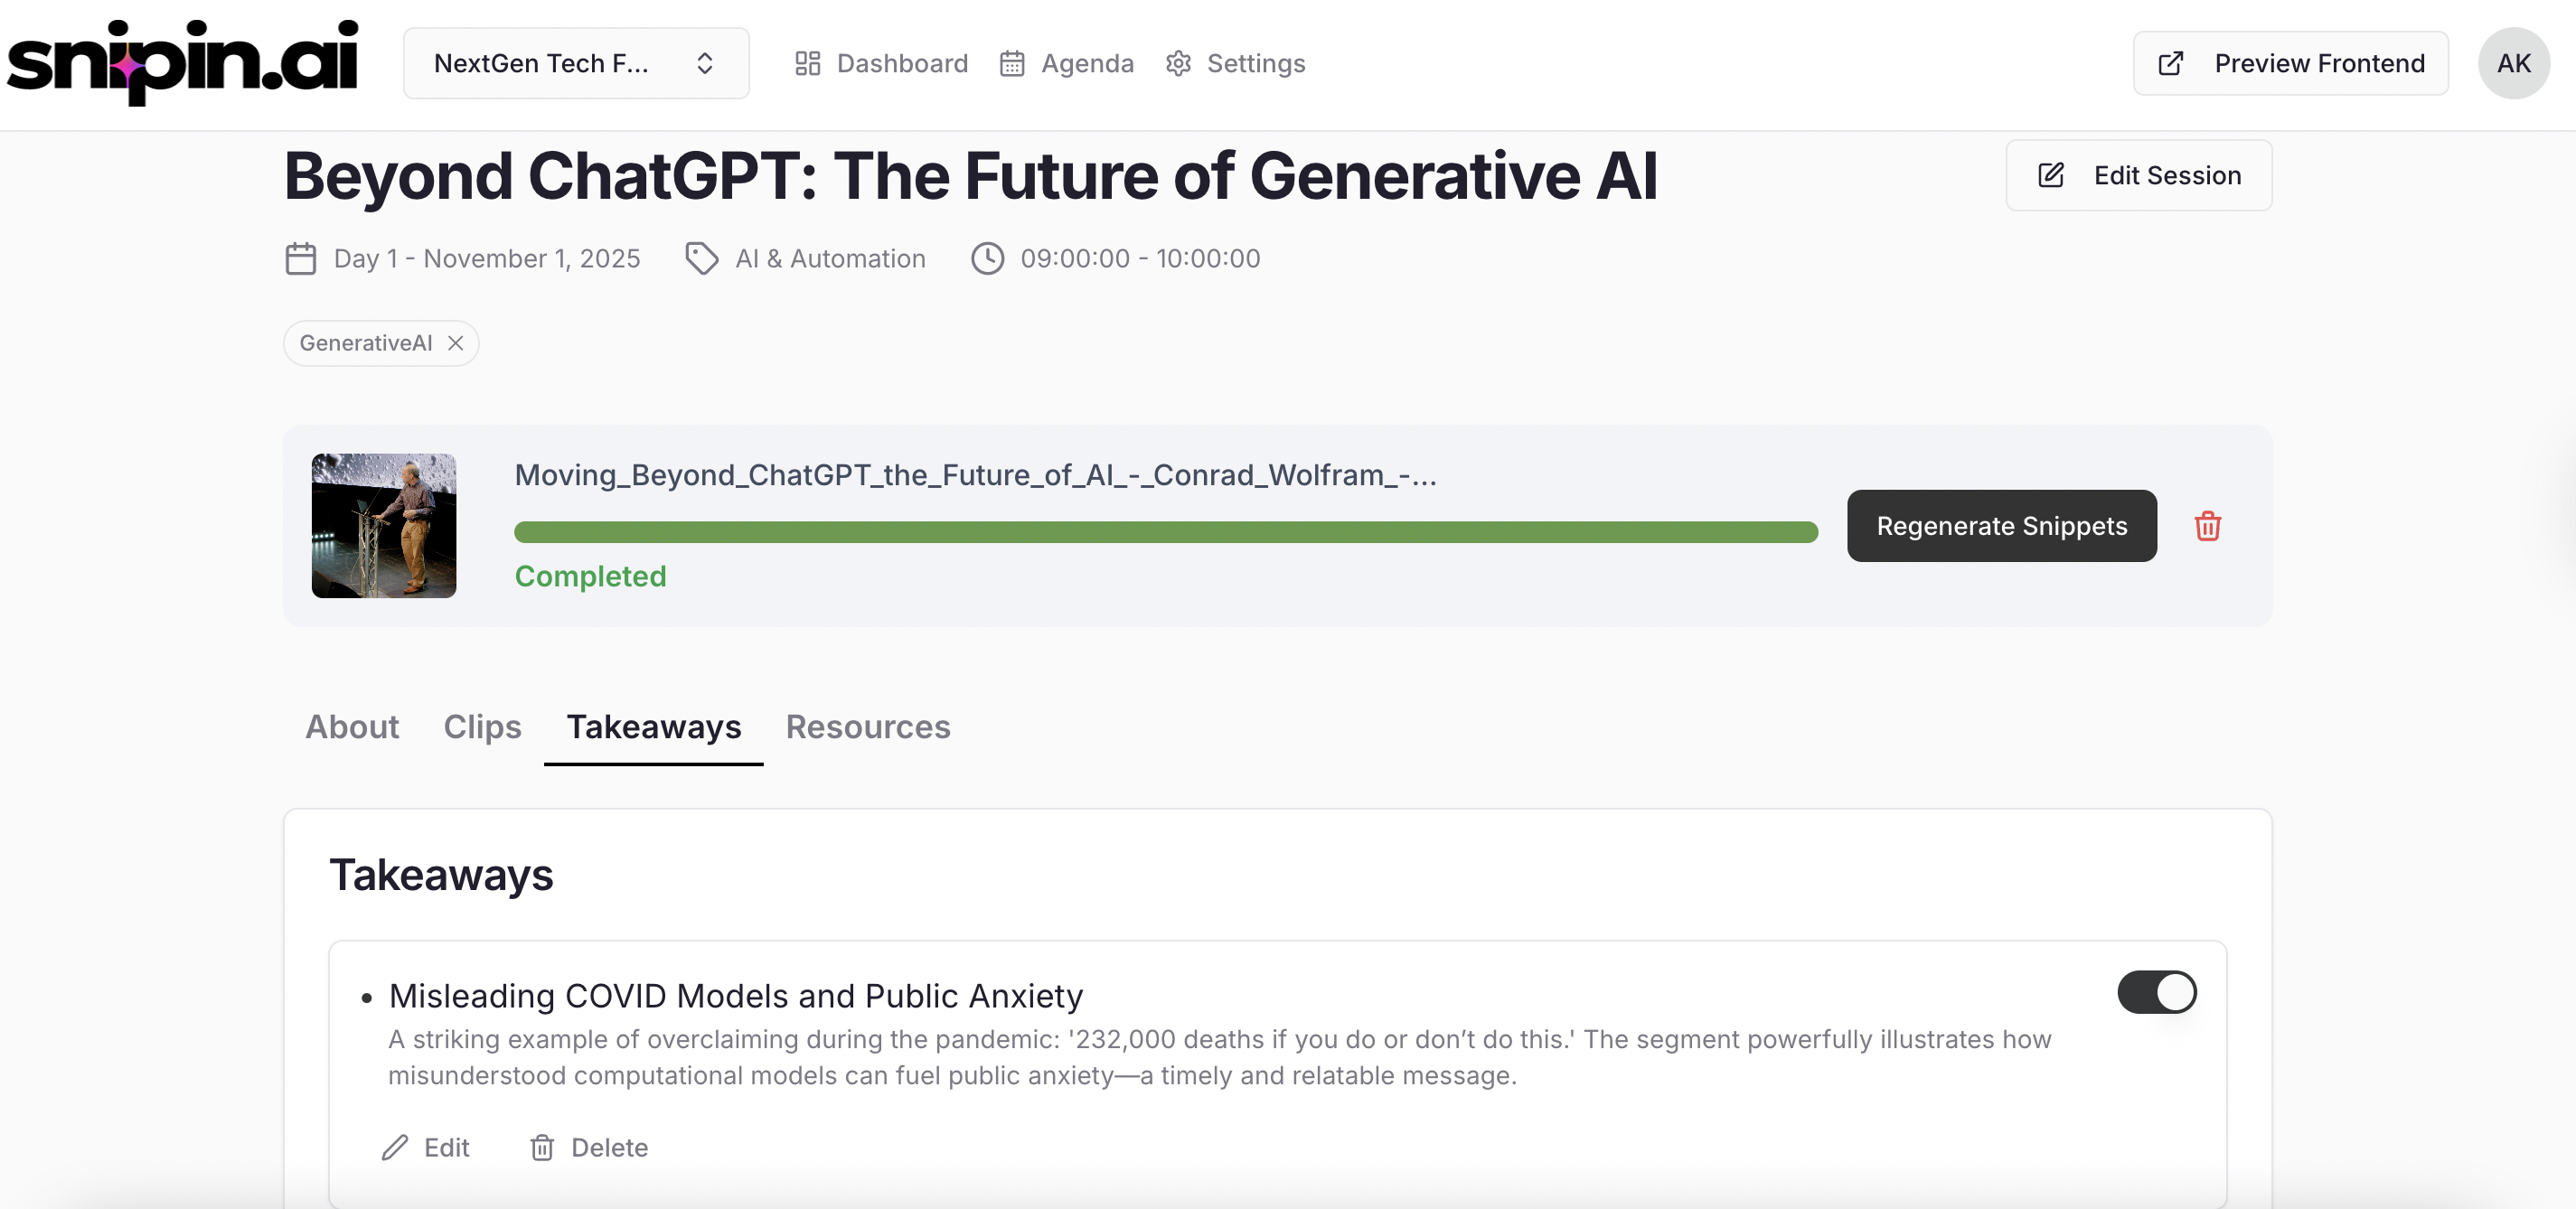
## 7: What Happens After Upload
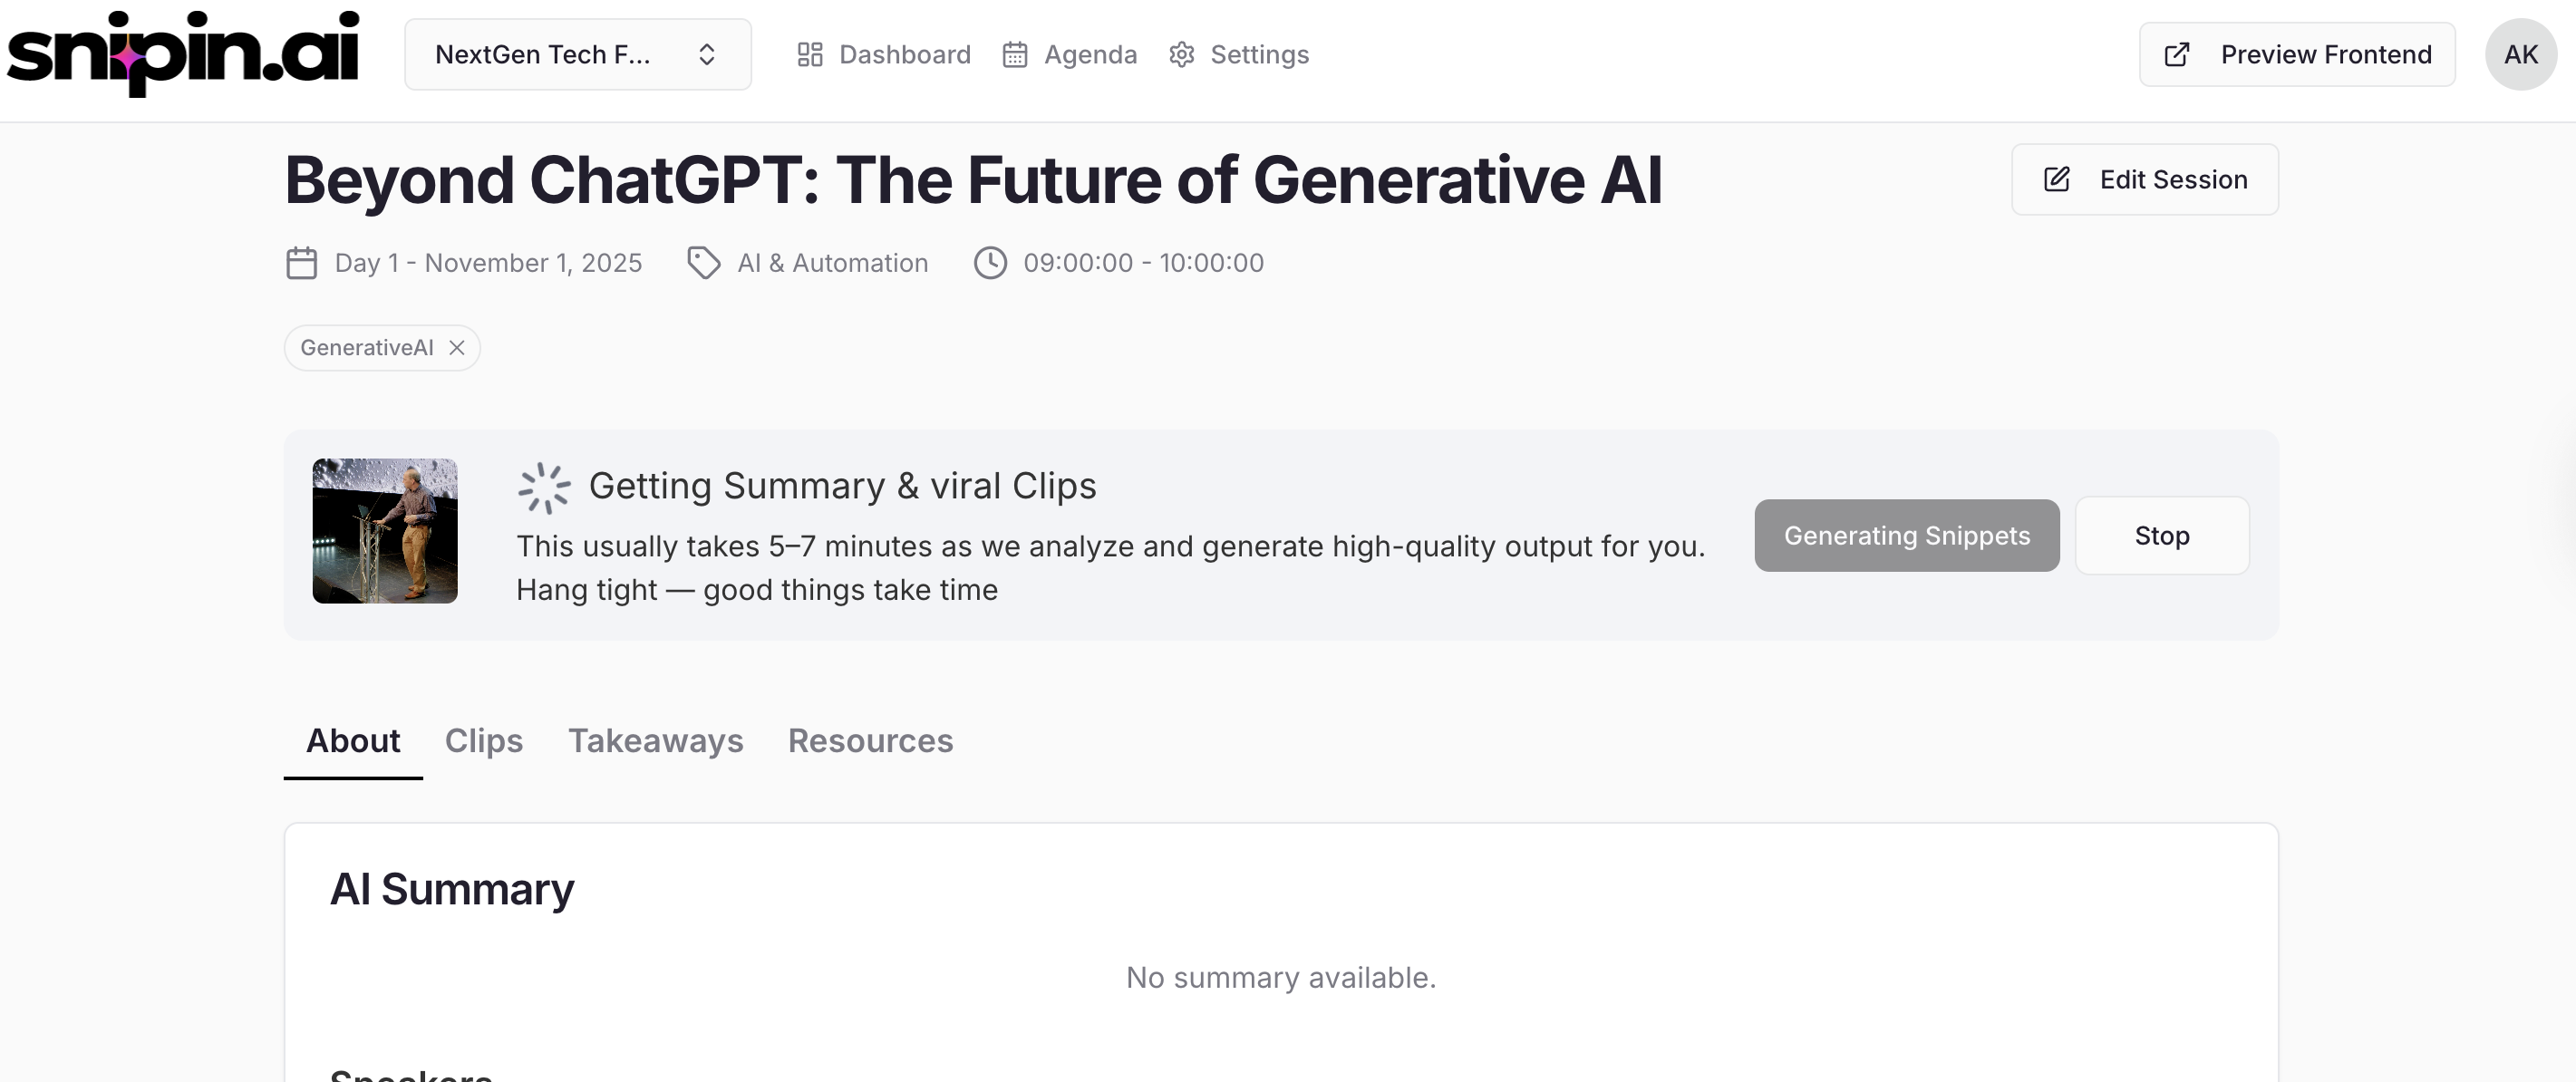
Once the upload is complete, click **“Generate Snippet.”**
Sit back and relax for a few minutes — Snipin AI will automatically process your video and produce micro content.
In a few minutes, you’ll have:
* 🧾 **AI-Generated Summary** – Quick readable overview.
* 🎞️ **Snippets (Short Clips)** – Engaging highlight moments.
* 🔑 **Key Takeaways** – Core insights in bullet form.
* 🖼️ **Visuals & Thumbnails** – Auto-selected impactful stills for galleries and sliders.
Once the video uploaded, Click on the “Generate Snippet” button. Select the language of video
and Submit
💡 *Tip:* Upload high-quality videos with good lighting and audio for better AI-generated results.
***
## 7: What Happens After Upload
Once the upload is complete, click **“Generate Snippet.”**
Sit back and relax for a few minutes — Snipin AI will automatically process your video and produce micro content.
In a few minutes, you’ll have:
* 🧾 **AI-Generated Summary** – Quick readable overview.
* 🎞️ **Snippets (Short Clips)** – Engaging highlight moments.
* 🔑 **Key Takeaways** – Core insights in bullet form.
* 🖼️ **Visuals & Thumbnails** – Auto-selected impactful stills for galleries and sliders.
 Once processed, all this content becomes instantly available on your **event microsite** for sharing or embedding.
## Need Help ?
We’re here to support you every step of the way.\
Email us anytime at [**info@snipin.ai**](mailto:info@snipin.ai) for help, feedback, or product guidance.
Once processed, all this content becomes instantly available on your **event microsite** for sharing or embedding.
## Need Help ?
We’re here to support you every step of the way.\
Email us anytime at [**info@snipin.ai**](mailto:info@snipin.ai) for help, feedback, or product guidance.