Once Snipin AI finishes processing your session videos, the real magic begins — your event’s microsite is automatically generated.
This is your ready-to-share digital hub where your audience can explore key moments, short clips, takeaways, and visuals — all powered by Snipin AI.
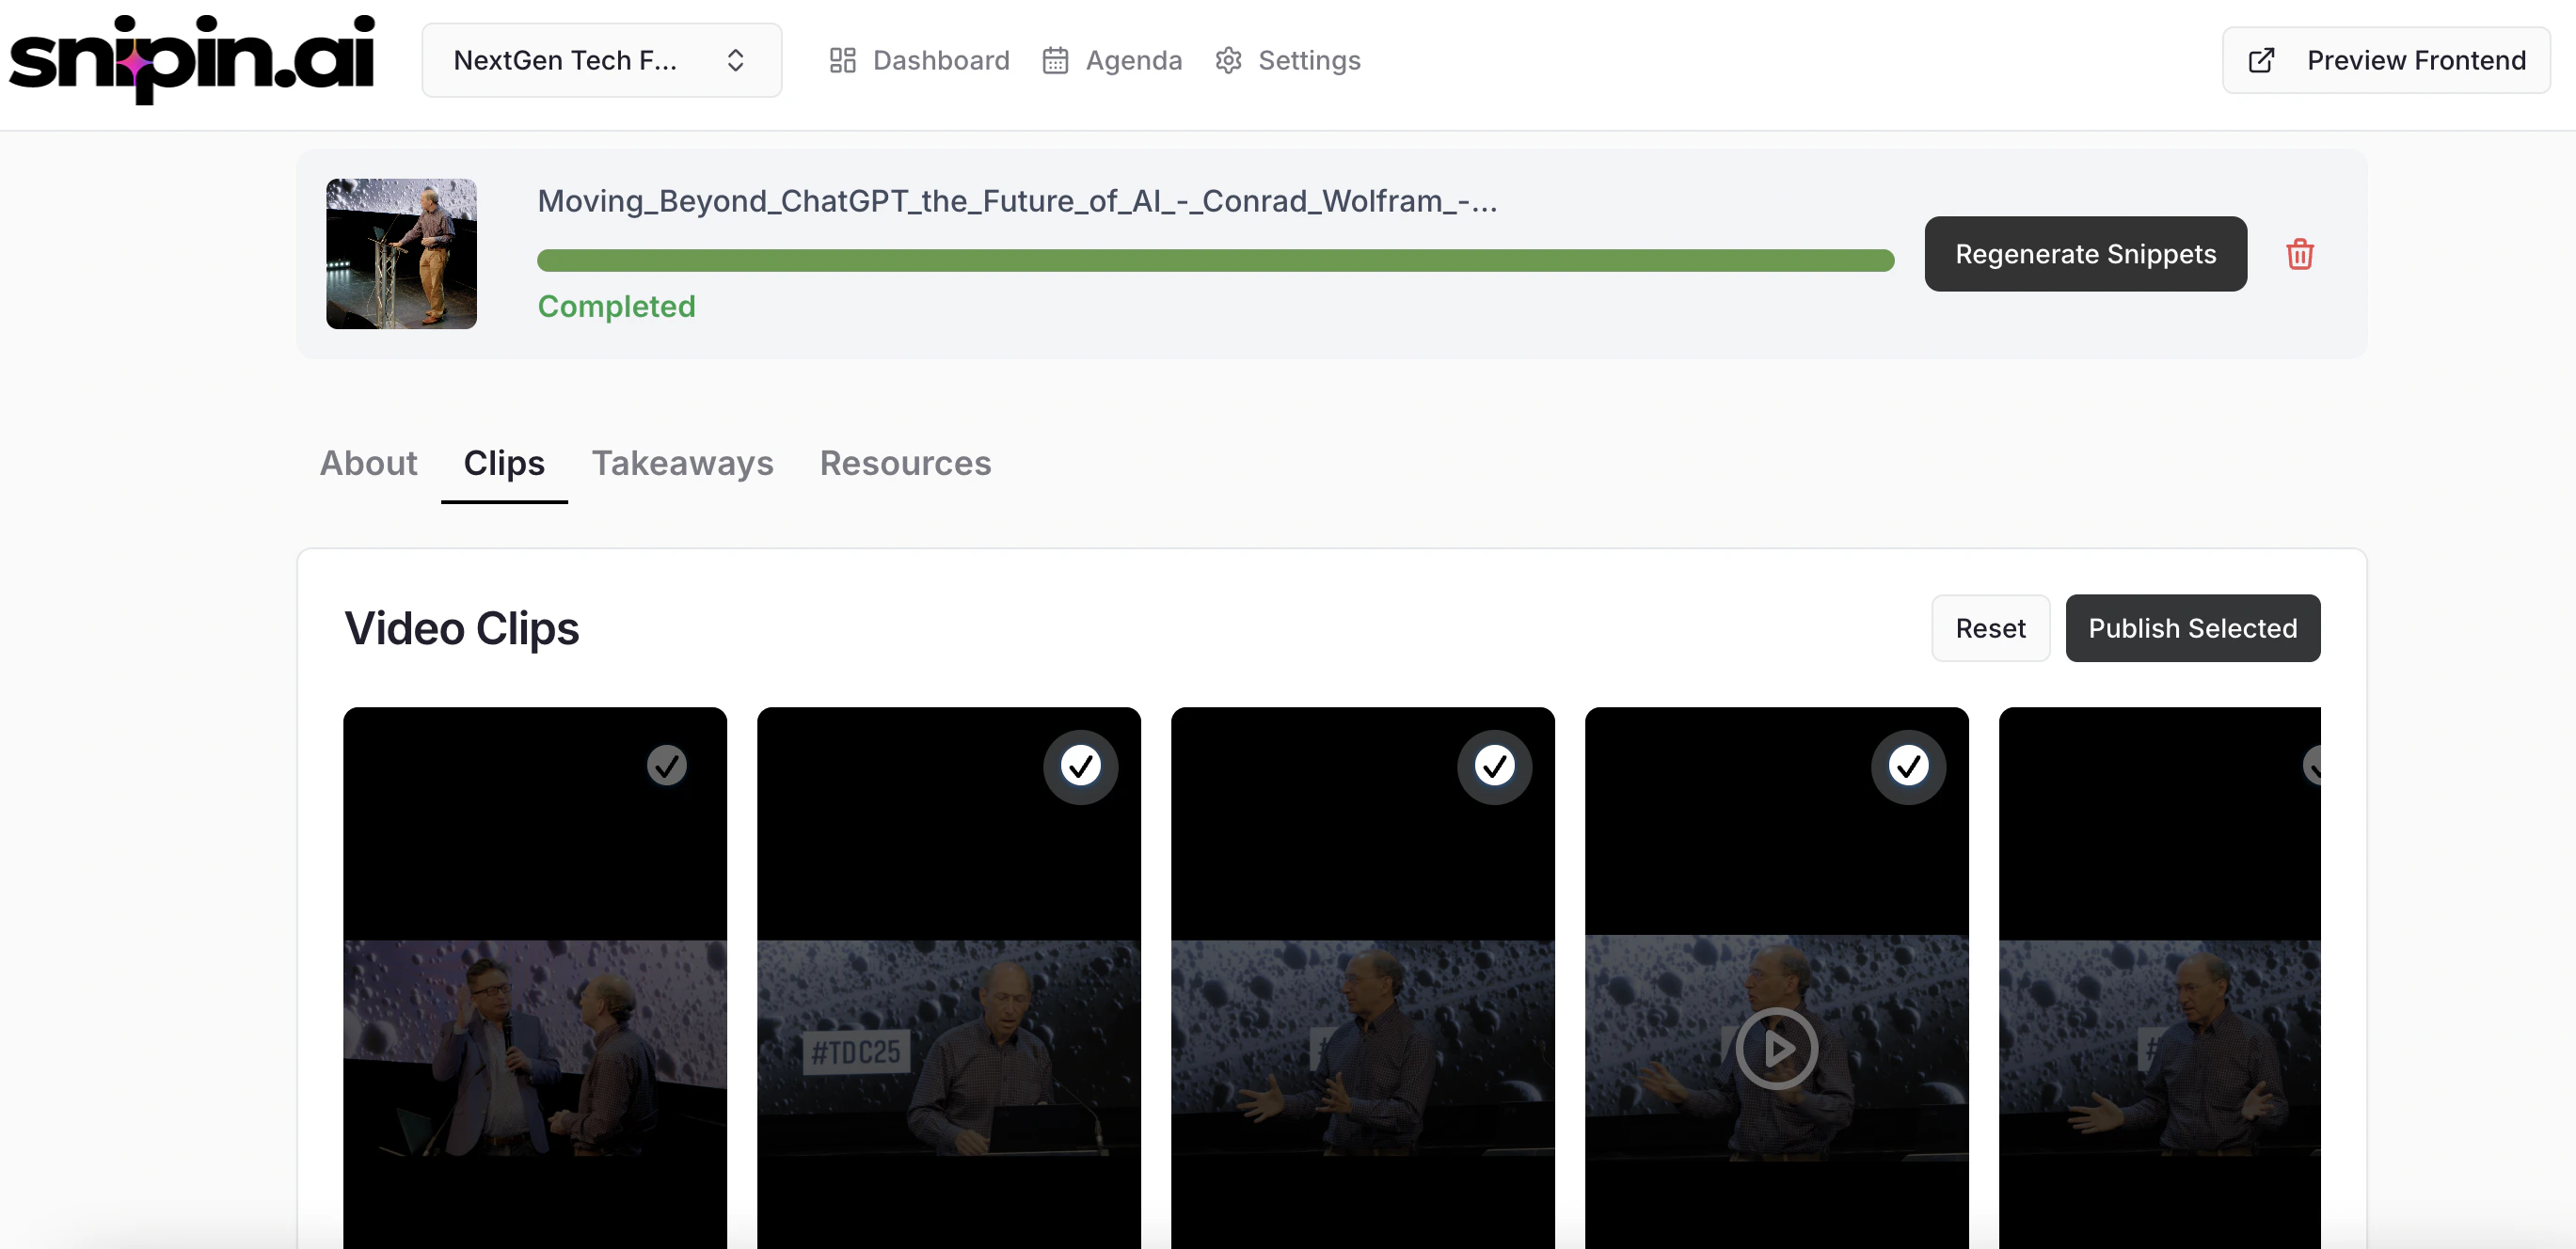
Step 1: Viewing Auto-Generated Snippets/Clips
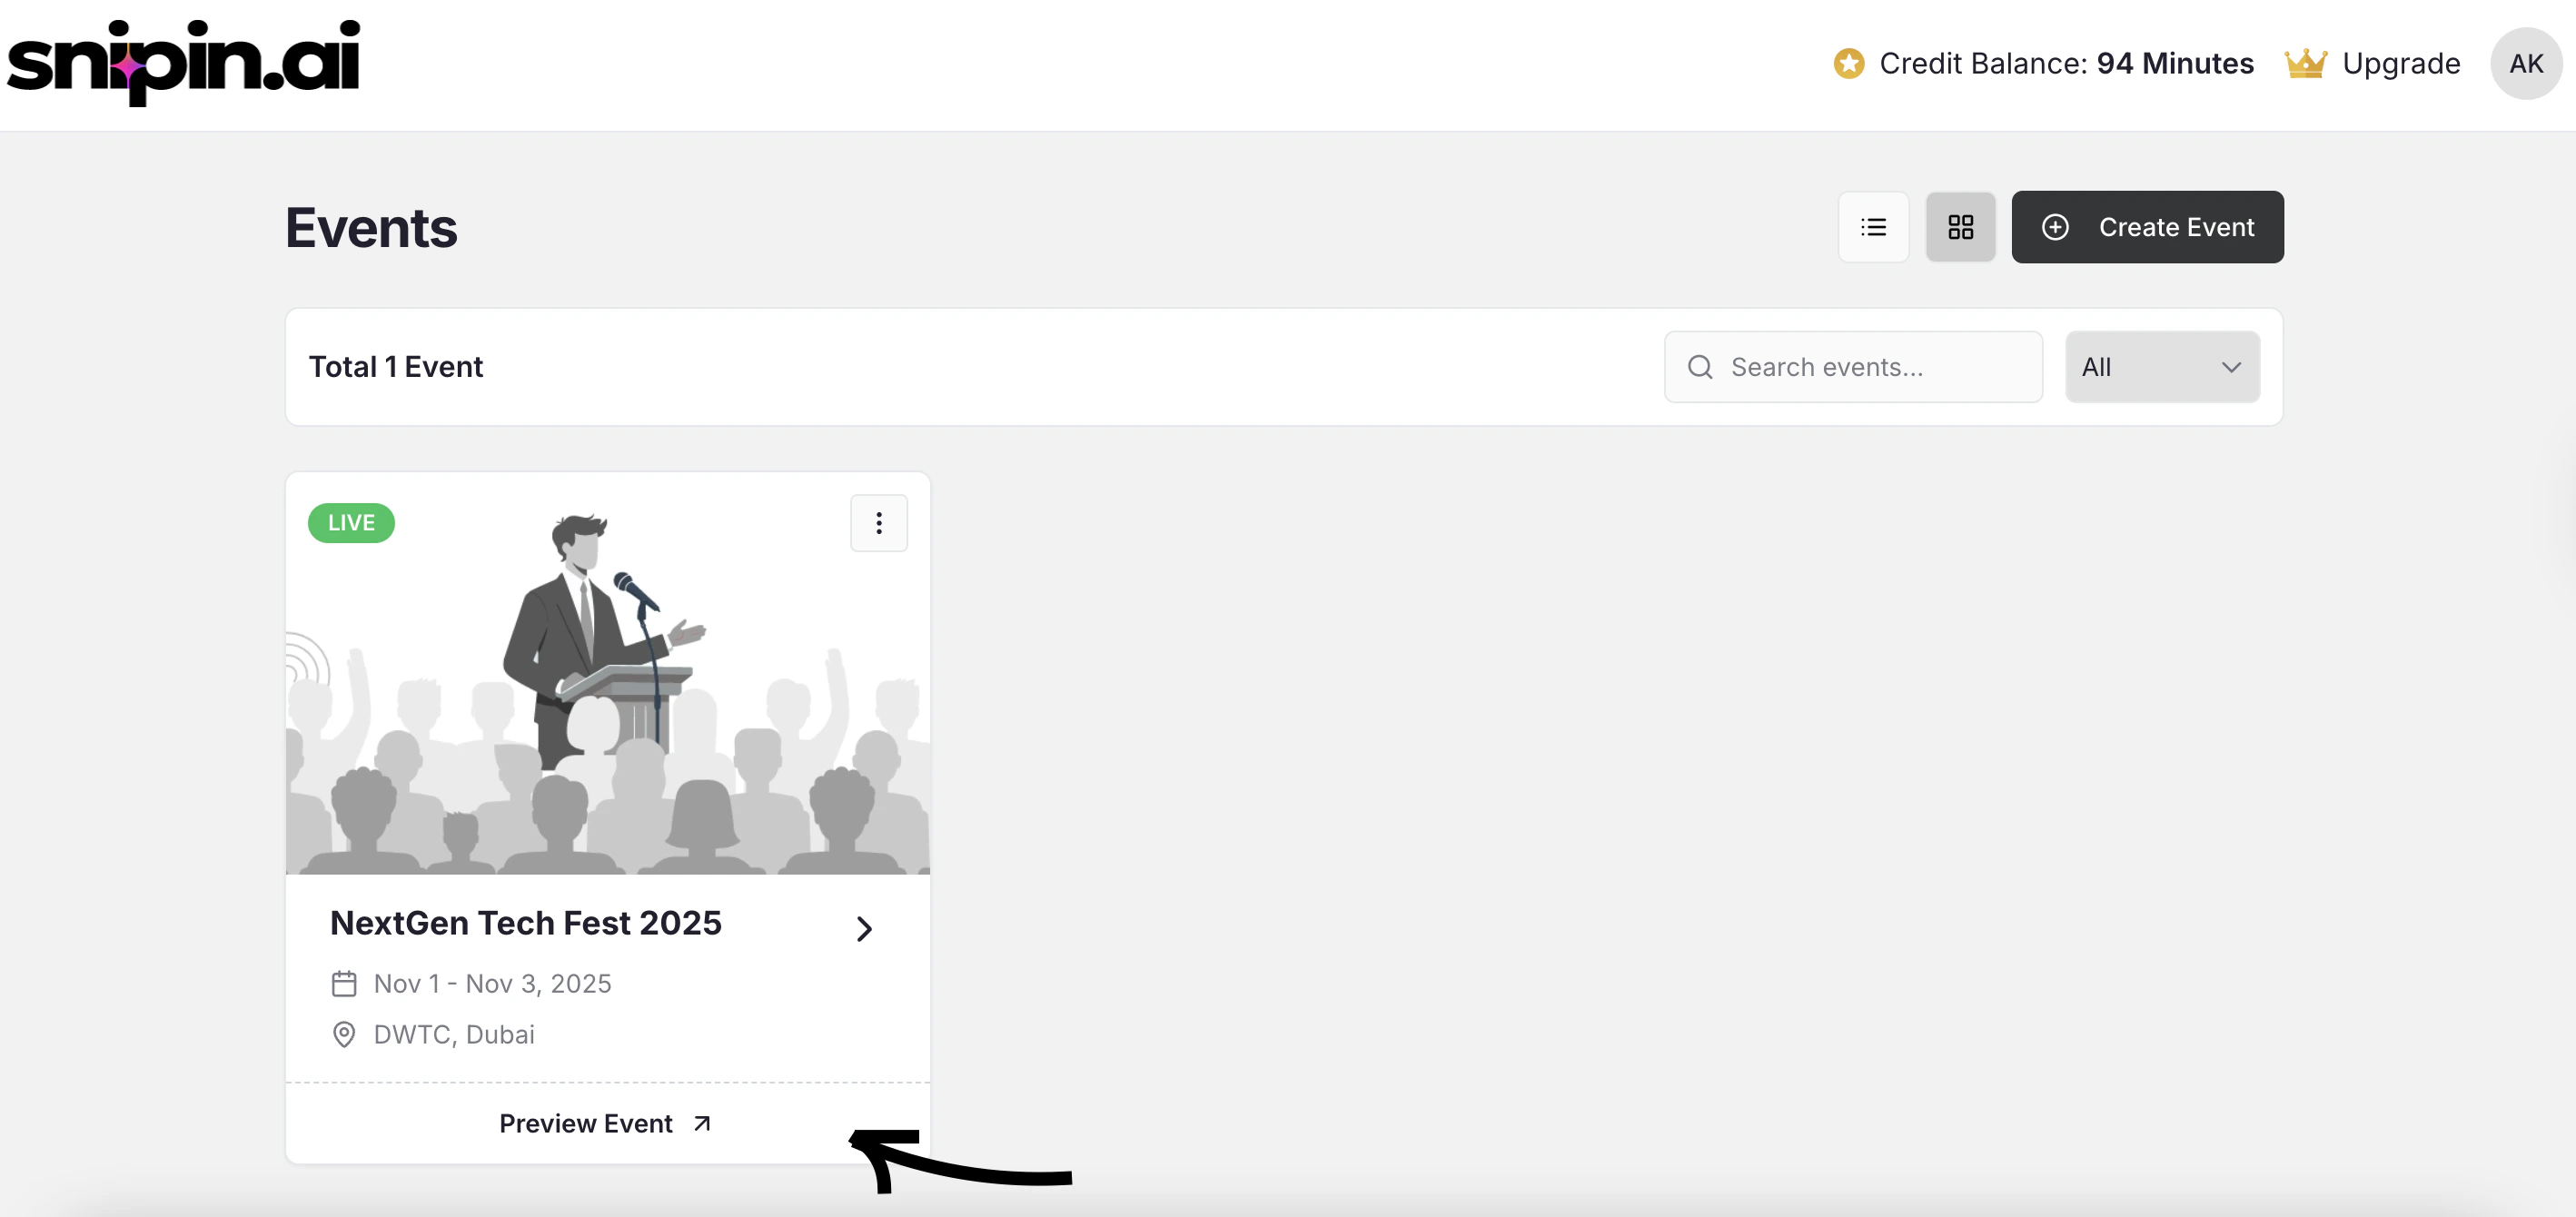
After processing is complete, go to your event dashboard and click on the event and you will see “ Preview Frontend” Link at top right to access your microsite.
You’ll see several automatically generated content sections:
Step 2: Editing Titles and Descriptions
Every clip and takeaway comes with automatically generated text, but you can personalize it to match your tone or branding.
To edit:
- Click the Edit icon (✏️) beside the clip title or description.
- Make your changes.
- Click Save — the microsite updates instantly.
You can edit:
- Clip titles and captions
- Session descriptions
- Key takeaway bullet points
Pro Tip: Use short, action-driven titles like “Top Insights from the Keynote” or “Why AI Matters for Events” — they perform better on social and microsites.
Step 3: Publishing or Unpublishing Micro Content
Not every generated clip needs to go live — you have full control.
On your session or event page, you’ll find a Publish Toggle for each clip or takeaway:
- 🟢 Publish ON: Visible on your live microsite.
- 🔴 Publish OFF: Hidden from public view (but still available in your dashboard).
To publish/unpublish:
-
Toggle the switch beside the clip.
-
Changes reflect instantly on your microsite preview.
Tip: Use this to curate your microsite and show only the most engaging or relevant content.
Step 4: Organizing Clips into Sections or Tracks
Snipin AI automatically organizes all your content by:
- Event → Day → Track → Session
You don’t need to manually arrange anything — each session’s clips and visuals appear under the right track and day automatically.
Pro Tip: This structure makes your event content feel cohesive and easy to navigate — especially for multi-track, multi-day events.
Step 5: Managing Public vs Private Access
Control who can view your microsite content.
Go to Settings → Access Control in your event dashboard.
You’ll see two options:
- 🌐 Public Access: Anyone can view the microsite by entering their email and verifying via OTP.
- 🔒 Private Access: Only users whose emails are pre-approved by the admin can access the content.
Tip: For internal events or paid content, choose Private Mode. For marketing or lead generation, go Public to drive reach and visibility.
Step 6: Preview Your Microsite
Once you’ve published your clips and visuals, click “Preview Microsite” from your event dashboard.
This opens a live preview where you can:
- See how clips appear on your event page.
- Check visuals, key takeaways, and speaker cards.
- Validate layout before sharing it publicly.
Pro Tip: Always review your microsite on both desktop and mobile — Snipin AI’s microsites are fully responsive and optimized for both.
Step 7: Share Your Microsite
When your microsite is ready, you can share it directly with your audience.
Options include:
- Copying your unique microsite link.
- Embedding the microsite in your event website or platform.
- Sharing individual clips on LinkedIn, X (Twitter), or Instagram.
Tip: Sharing AI-curated clips keeps your event’s engagement alive even after it ends.
Need Help ?
We’re here to support you every step of the way.
Email us anytime at info@snipin.ai for help, feedback, or product guidance.